Simple steps how to build a pond


Quick links - Answers
Advice by Mick, keeping fish since 1976

Brief Description
This article is a step by step guide on building fish ponds; You're welcome to share your experiences or ask questions regarding fish ponds at the bottom of this page!
Introduction
A major project that many people undertake nowadays is to create a pond in their garden. One of the key aspects to this is to draw up a plan initially. Take into consideration whether the pond will be used for goldfish only, or for koi.
Look around your garden to find the best situation, remember too much sunlight on your pond can cause outbreaks of algae, and observe the site over the day to find out the position of the sun at different times. Take into consideration how big you want the pond to be, are there small children that will be in the area, if so think safety into your design.
Work out a budget remembering to allow for all the extra equipment that you will need i.e. filters, lighting, and fountains.
If designing a square or rectangular pond peg out the corners, then mark out the area with line. If your design involves an irregular shape then lay out a hosepipe or use marker paint for the outline, stand back to make sure that it will all fit in with your garden, and then adjust as necessary.
The liner
Decide which liner you are going to use, preformed, butyl liner or actually building the pond up with breeze blocks (cinder blocks).
If using a preformed liner, dig out the area to match the size of the pond. Allow extra depth and width for the underlay. When the area has been excavated line it with either sand or an old carpet, this will protect your pond from any sharp rocks etc, plus it will support the pond and prevent it from twisting when the weight of the water is inside it.
Place the pre form into the hole and slowly start adding water, making sure it is perfectly level. As the pond slowly fills, keep adding sand or padding around the sides to make sure the pond fits nice and snug, remember if there are any shelves in it , to make sure that they are supported underneath.
When the pond is full do a final check to make sure it is level, and that is your pond ready for use.
Using a butyl liner is a little more complicated, but with preparation is quite in the reach for anyone to do. The first thing to do is measure up for the amount of liner you will need. There is a simple equation for this. To work it out measure the length plus twice the depth plus 2 feet. Measure the width plus twice the depth plus 2 feet. This will give you the total length x the total width. The extra added is to allow for some liner to be buried on the edges to make it all tidy. As with the pre formed line the excavated hole with sand or underlay for protection of the liner. Now spread the liner over the top of the hole and weigh the edges down with large stones or bricks. Start to fill the pond slowly, allowing the liner to sink into position, the slower this is done the tidier it will look when finished.
Keep tucking the liner into the corners with neat folds and make sure that the liner is tucked neatly into any shelving that you have created.
The edges of the liner can be covered with slabs, a rockery using some of the soil that you excavated, or even lay turf up to the edge if the pond is surrounded by a lawn area.
The volume
It is crucial that the water volume of the pond is known ready for when you need to add any treatments or additives, surprise, surprise there is an equation for this as well. If you multiply the width x length x depth x 6.25, this will give you the volume in U.K. gallons. So if your pond is 10 foot x 8 foot x 4 foot depth the volume is 10 x 8 x 4 x 6.25=2000 U.K. Gallons.
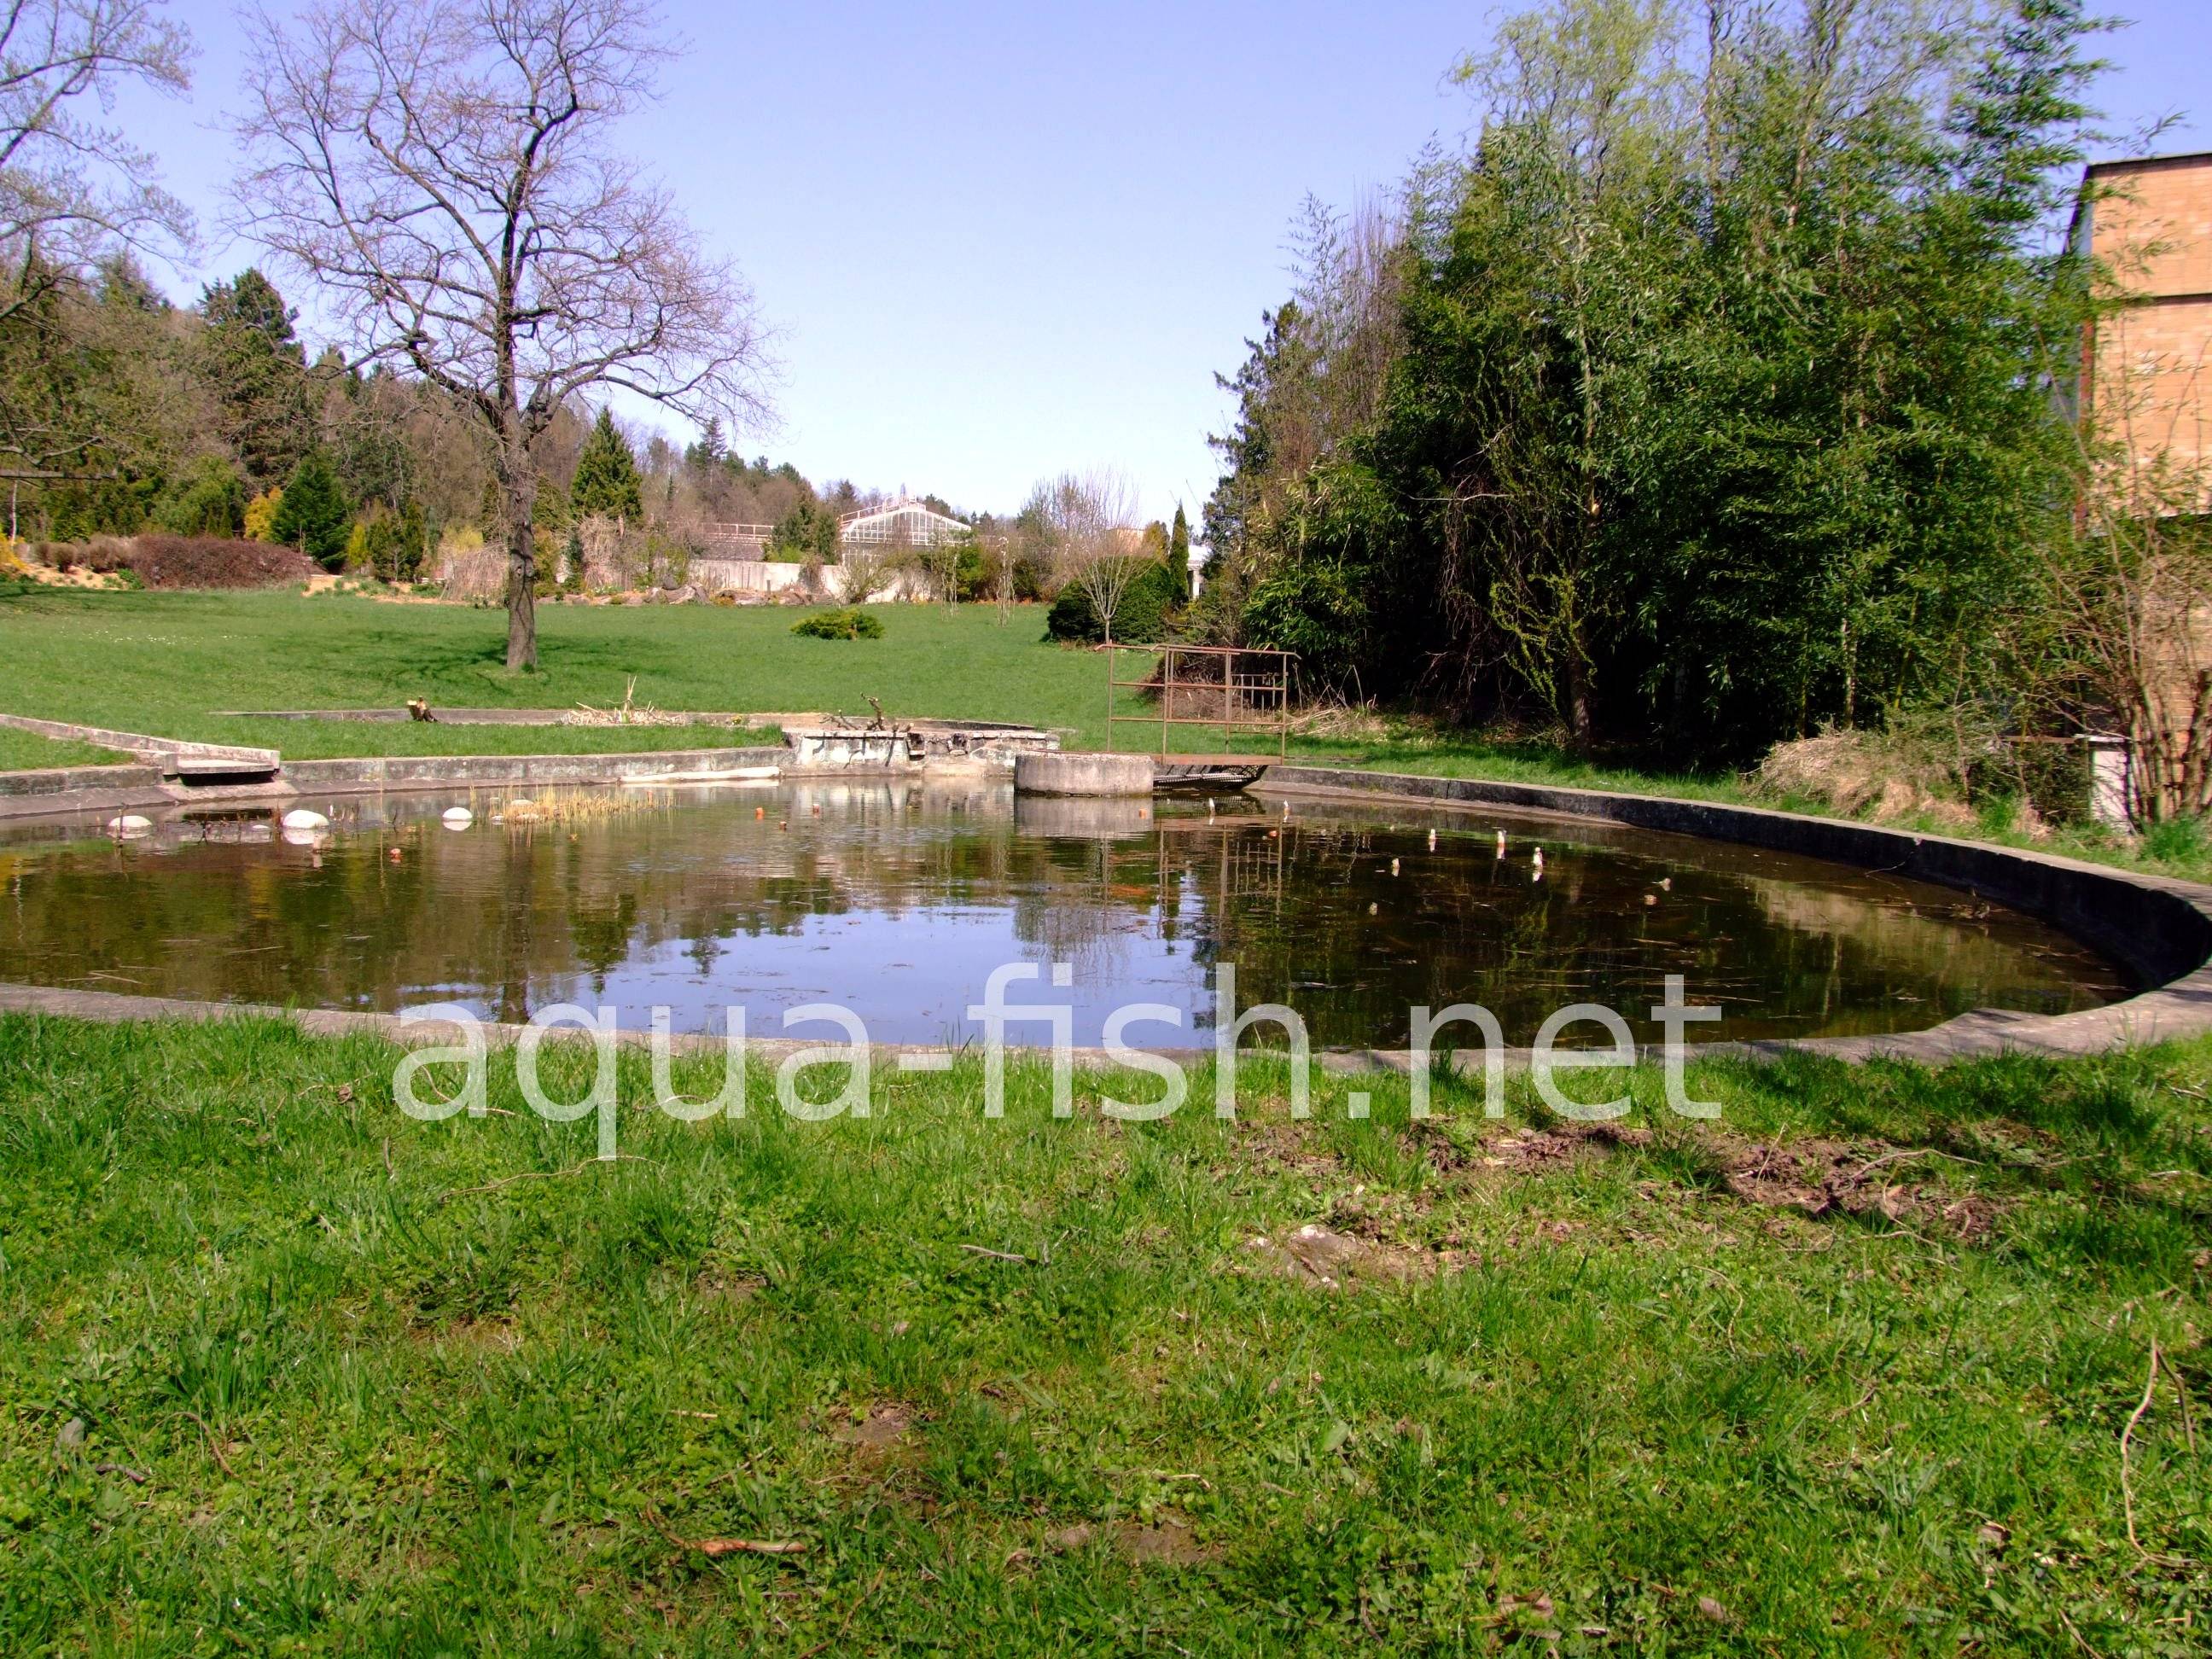
When I created my pond I decided to build mine with breeze blocks (cinder blocks) and then render the sides. As there were children about I decided to dig down 2 feet, and then raise the sides 2 feet above the ground, giving me a depth of 4 feet in total. I needed the 4 foot depth as I intended to keep Koi in the pond, any less than that and the fish would not have been happy.
The hole was excavated, allowing an extra foot on the width and length to give me room for the block laying. On the base I needed at least 6 inches thickness due to the weight of the water. To overcome this I laid some heavy duty paving slabs on the bottom, then I covered them with 3 inches of concrete which was then smoothed.
This also served as the foundation for the building work with the blocks. These were then laid to the correct height leaving 2 holes in the sides for the outlet pipes from the filter system. Once the pipes were in place the holes were sealed with concrete as well, now after leaving the building work for 2 days everything was ready for the cement rendering.
In this case I was lucky enough to have done this in the past when I worked as a plasterer but if you are not sure how to do this get a professional in to do it for you.
Fibreglass was mixed in with the render to give it extra strength and then it was applied.
To waterproof the pond I invested in purpose made pond paint. 2 coats of clear were applied, followed by 2 coats of the coloured, which in my case was a dark green. For the block work that was raised above the surface, I simply laid decorative brickwork on the outside, covering over the top with coping stones to give a neat finish. All in all this took me 4 months to build so if you are not DIY minded then using a standard liner might be more appropriate for you.
If you are planning to do this yourself be creative, you will find it is not as difficult as you think, forward planning is the key.