Discus fish - An ultimate guide with forum
How to care for them - Pictures, Breeding, Raising the fry, Filtration, Tank set-up & Forum

Quick links - Answers
- Origin
- Setting up a Discus aquarium
- Tank Mates
- Selecting your Discus
- Acclimatisation
- Diet
- Diseases
- Breeding
Guide by Mick, keeping fish since 1976

Brief Description
This page is an ultimate guide on raising Discus fish and covers almost everything regarding Discus; Unlike most websites about Discus, you're welcome to post your experiences and questions at the bottom of this page and we'll answer them. As we also list varieties you're welcome to visit the following pages too: Red discus profile with pictures and forum, Raising Discus with FAQ, Discus profile, Zebra discus profile, Blue discus profile. If you're raising Blue, Zebra, Green or Red discus, make sure that you leave messages describing your experiences on the previously linked profiles!
The origins of the discus fish
Discus fish are now a common sight in all of the aquatic stores bit this is a fairly recent happening in fish keeping terms, 20 years ago they were mainly kept by expert fish keepers who had learned the art of keeping them alive for extensive periods of time by word of mouth with fellow breeders.
But where does the discus originate from?
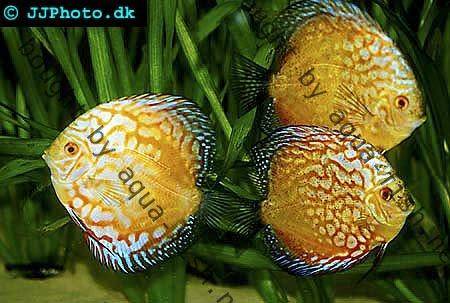
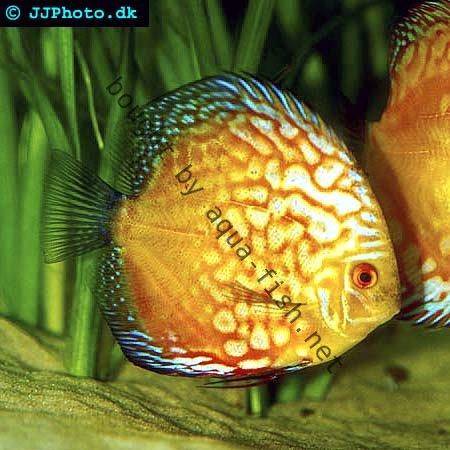
All discus fish are found in the tributaries of the Amazon River. It has now been agreed that the discus can be found in three different types of Amazonian waterways, the white waters of the Upper Amazon, the black waters of the Rio Negro, and the clear waters from the Lower Amazon. The bulk of the discuses are found in the black water areas, they will also inhabit the flood lakes on the banks where the water is very soft and acidic. The temperature of the water changes very little in the 24 hour day cycle, it normally stays around the 80°F (~ 26°C) mark, this is makes the pH remain constant as well. The discus gets its common name from its body shape; they have developed a flat, round body to help them hide in the aquatic vegetation and submerged tree roots. They are one of a few species of cichlids that are a schooling species, they develop a pecking order similar to African cichlids and this should be remembered when deciding to keep them, never buy one or two specimens, and always make sure your tank is large enough for a small group.
They were first described by Dr Heckel in 1840; his description was of a wild discus from the Symphysodon species, this name means “having teeth in the middle of the jaw”. This was commonly called the Heckel discus and is instantly recognised as it has a prominent middle bar on its side and a vertical bar that runs through the eye. The Heckel Discus originates from the Rio Negro (Central Brazil).
It wasn’t until 1904 that another genus of Discus was described, Pellegrin wrote about the Green Discus (Symphysodon aequifasciata aequifasciata), this species was found in Lake Tefe and the Amazonian waterways of Peru.
There are 2 other species of discus recorded, the Brown Discus (Symphysodon aequifasciata axelrodi), and the Blue Discus (Symphysodon aequifasciata haraldi). It is not agreed yet as to whether these are actually different species or simply the results of breeding between the original recorded species.
Nowadays there are many colour morphs and strains if the discus, these are the results of years of breeding programmes to develop more and more unusual variations. The Discus was first kept by fish keepers in the 1930’s but little was known about them. Many of the failed attempts at breeding were due to the fry being removed from the parents before they had fed on the “discus milk” a mucus produced by the parents to provide nourishment. In the seventies many breeders were producing strains that were predominantly blue, green or brown, none of the fancy colourations found nowadays. The main aim of the breeders was to produce Discus of a predominantly blue colouration, and in Europe a species was bred which was predominantly red.
In the last twenty years there are many strains that have been developed and more are still being produced. Modern breeders now dream of a mutation from their breeding pairs that will produce a brand new strain.
New technology and better understanding has definitely made life easier for Discus keepers with many stains being developed that are quite hardy and can live in a wider range of water parameters. They can still fetch a high price in the aquatic trade which provides an excellent incentive for the breeding programs that are still being carried on.
Thanks to Tamri Shavi!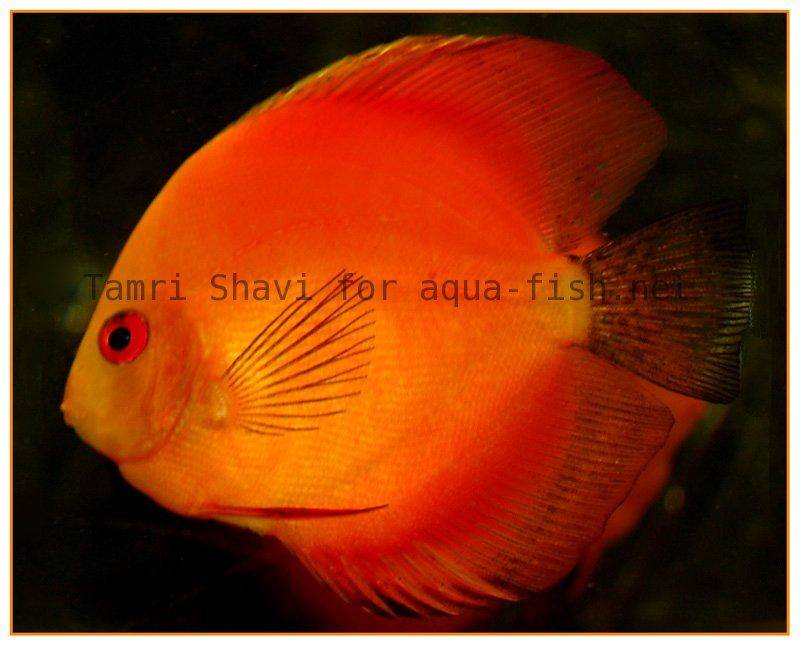
Setting up a Discus aquarium
Discus require a lot of swimming space but also need to be kept in small groups; this is a bit of a catch 22 as they will hide a lot if solitary specimens are kept but the tank needs to be large enough to allow at least 10 gallons (~ 45 litres, 12 US gallons) of water for each fish. As they are at their best in groups of six or more, it is best to invest in at least a 60 gallon (~ 273 litres, 72 US gallons) tank. Using a smaller tank will lead to problems, not only will it distress the fish but it could also stunt its growth and they are high waste producers, the tank maintenance could be a lot harder to keep the water quality high. The only time that the discus should be kept in pairs is for breeding purposes but we will discuss that subject later in the article.
Never position the tank in a busy room or walkthrough area, they are a timid species but kept in the right place, they will learn to trust the keeper. Constant traffic of people walking past or high activity may cause the fish to hide and become afraid of humans. Shallow tanks are not a good idea for Discus; they require a deep tank of at least 18 inches (~ 46 cm) to make them feel comfortable. The tank height on the stand should be at least waist height, if the tank is too low, the movement of legs etc. will spook the fish.
This is the discus tank I used; it is a Rena Aqualife 150 cm (59.06 inch) in length and holds 430 litres (~ 114 US gallons, 95 Imperial gallons). There were two 300 watt heaters added in the final set up and the filtration was powered by 1x Tetratec ex1200 and 1x Rena xp3
The substrate used has also been a matter if discussion over the past few years, originally keepers would place the Discus in bare bottomed tanks to aid in keeping the tank clean, nowadays many keepers choose to use fine gravel or sand in their display tanks for a pleasing effect to the eye. If a substrate is being used it is very important to gravel vacuum it weekly to prevent build up of waste and uneaten food that will later decay and poison the water.
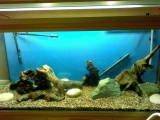
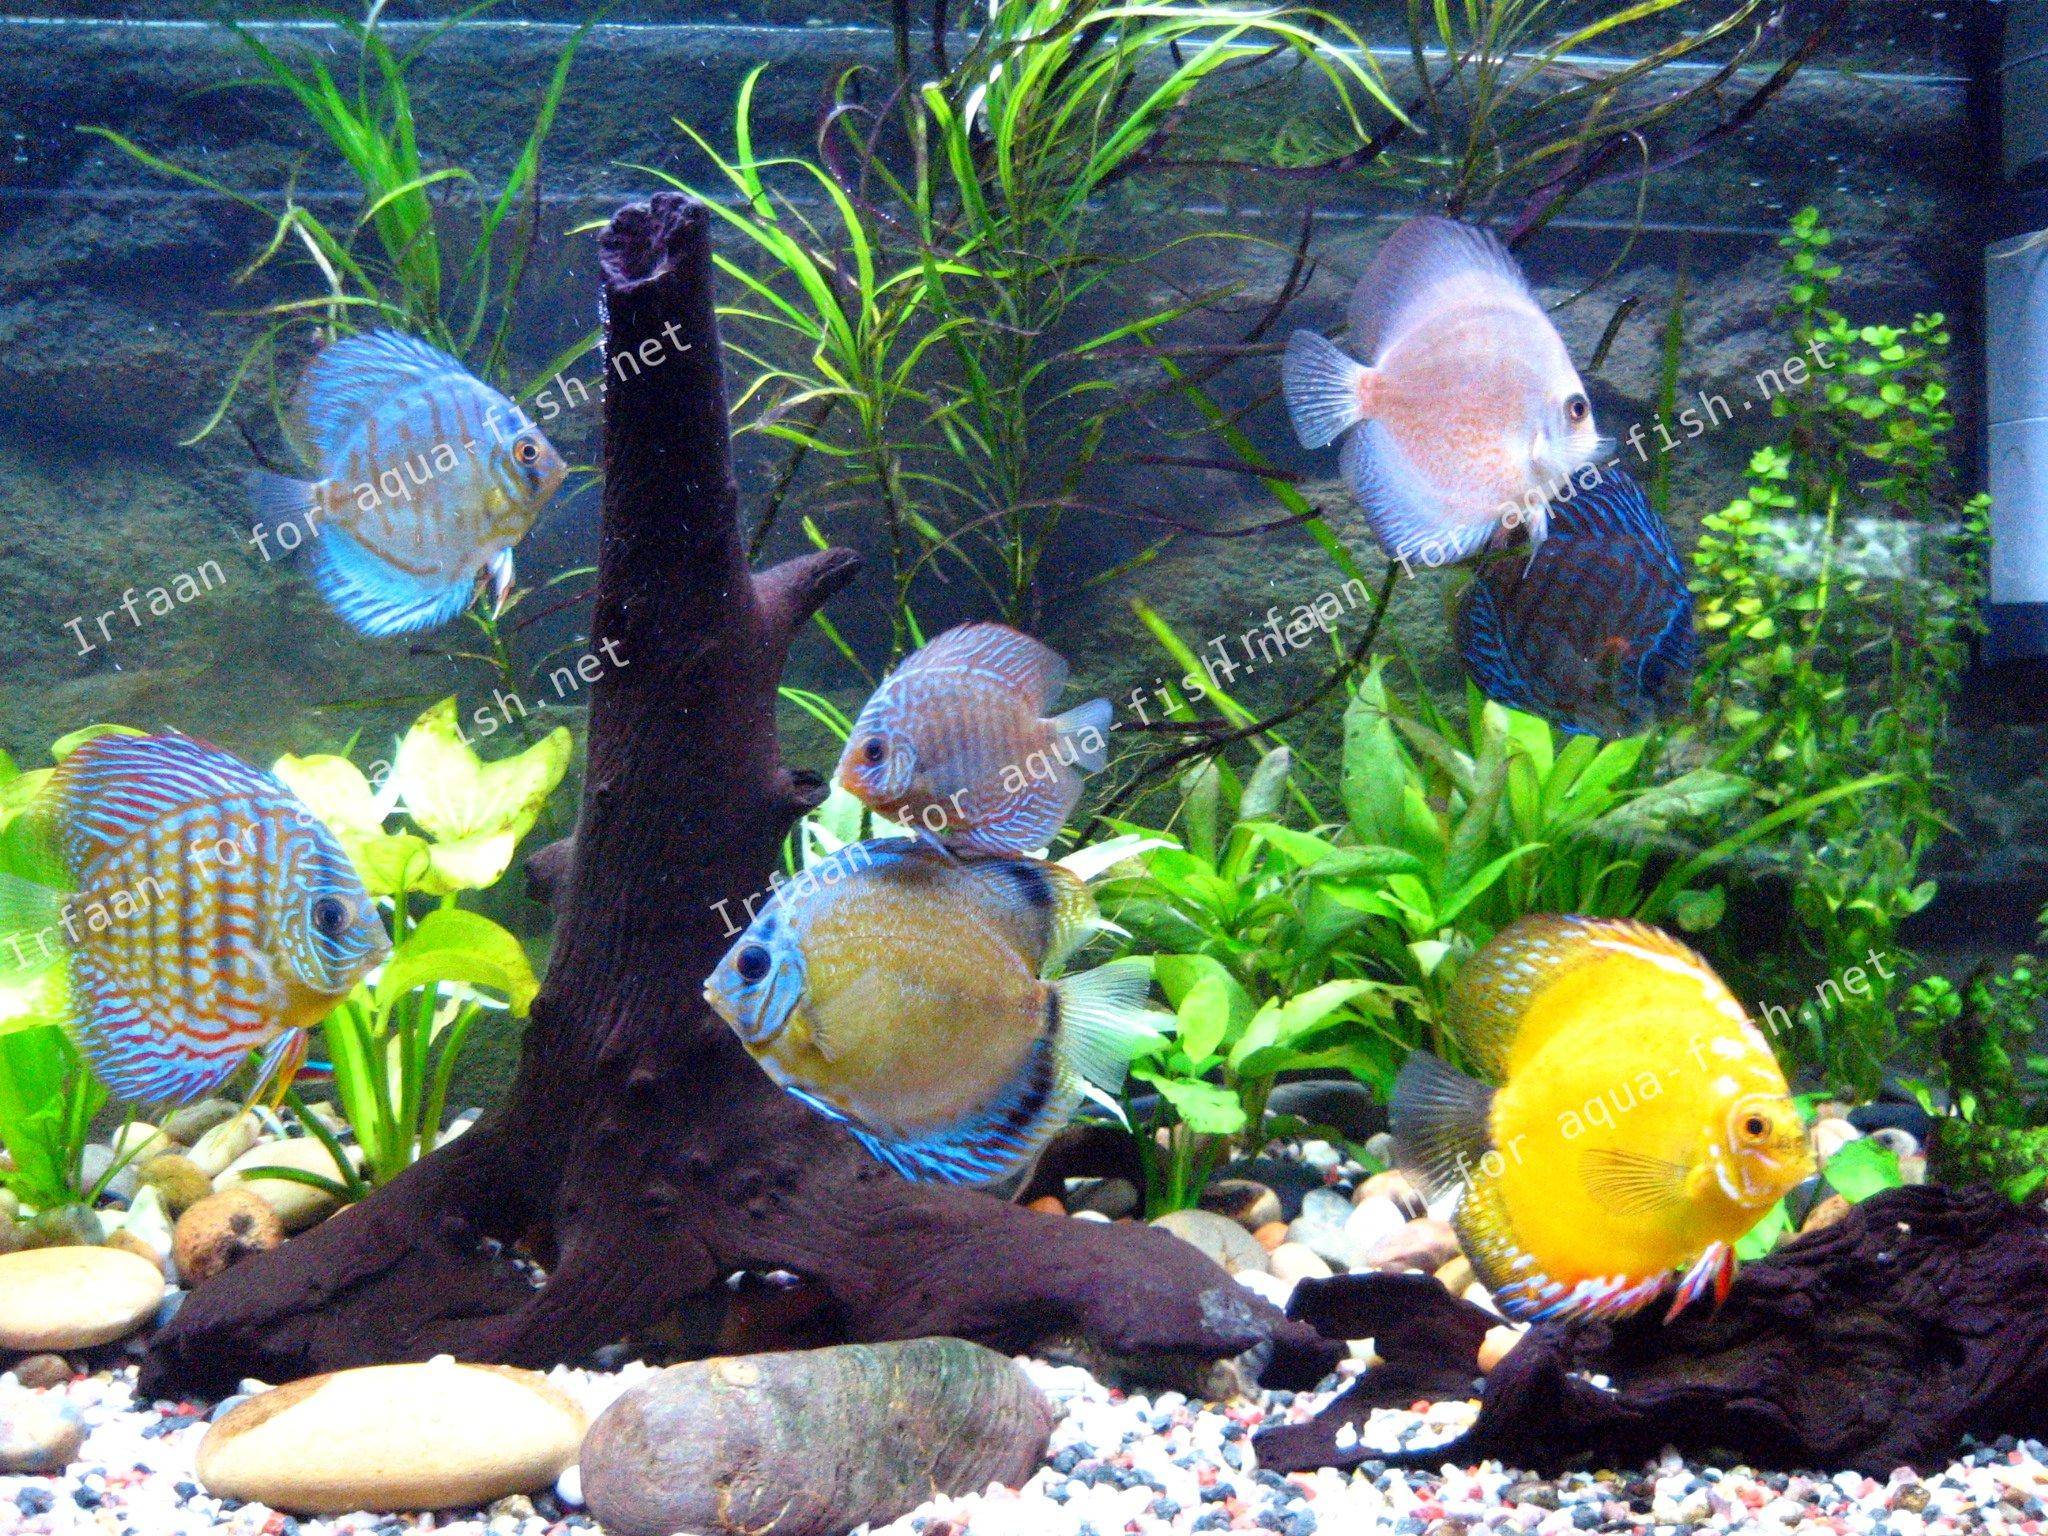
This is the tank with the rocks and bogwood added; in the left hand side I created a cave by fastening several lengths of bogwood with aquatic milliput
Bogwood to me is a necessity in the Discus tank, it help to keep the pH acidic, releases small amounts of tannins into the water and looks good as well. Smaller Discus will also use the bogwood for hiding places when alarmed, and strangely enough the more hiding places in a tank the more confident the fish become as they know they can escape when they want to. Imitation ornaments and cartoon characters do not have the same effect as realism in a Discus tank, go for the natural look and place your bogwood in a random fashion, adding some plants in the gaps for extra effect.
Live or imitation plants can be used; I tend to go for live plants as they give a more natural effect. Many online plant suppliers will sell discus plant collections that are rated for your size of tank. Rather than have the tank overflowing with plants it is better to use a smaller collection and randomly place the plants around the tank leaving areas of the substrate unplanted. Vallisneria look great in the background and the Discus can swim through them easily and also use them for hiding places. Java Fern, Amazon Swords and various species of Cryptocoryne work well in a Discus set up.
One area that confuses many discus keepers is how much lighting do the fish like? When Discus were first kept it was believed that they would be spooked if bright lighting was added to the tank, I haven’t found this to be true. In my present Discus tank I am running a 4 X 54 watt luminarie and it doesn’t bother the fish at all. Basically the Discus will adapt to any lighting that is used, what I like to do is add some floating plants like Amazon Frogbit to provide shady areas for the fish if they feel the need for them.
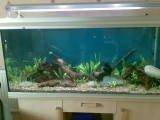
The plants have just been added and look a bit sparse, this was intentional to give them space to grow but still leave areas of substrate fee for swimming space
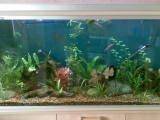
After a short time, the plants are now taking hold and filling out the tank
Filtration is very important in a Discus set up, it is better to over filter the water than risk not having enough. I prefer to run two filters that are both rated for the size of my tank, another reason for this is the fact that Discus do not like a lot of water flow in the tank. The filters need to be turned down low so that they trickle the water back into the tank. This should not affect their efficiency but I think better safe than sorry, it also makes maintenance easier as one filter can be cleaned on a regular basis while the other one is still running and vice versa. All types of filtration are required; these are broken down into three groups.
- Mechanical
- Biological
- Chemical
- Mechanical filtration
With any filter this should be the first stage in filtering the water. The water is pumped through sponges or similar material that collects any debris floating in the water. Often different grades of sponges are added to the filter, a coarse sponge to catch the large particles, this is then followed by a finer grade of sponge to collect the smaller particles. All sponges will have a recommended life span before they are rendered useless, during this time they can be rinsed repeatedly in old tank water as if they become clogged, the water flow is reduced and the filter will not perform properly.
- Biological filtration
This is where the filter performs most of its work. Colonies of bacteria build up on the media and any ammonia produced by decaying matter or fish waste is converted to nitrites. This is less harmful to the fish but is still not good to have in your tank water. Yet another colony of bacteria will convert the nitrites to nitrates; these can be removed by regular water changes or the addition of live plants will absorb the nitrates as food. For chemical filtration the media needs to have a high surface area, originally ceramic rings were supplied for this use but more recently plastic bio-balls seem to be the more favoured media. The ceramic rings may start to crumble in time and as such should be replaced according to their guaranteed life span. If the mechanical filter sponges are kept clog free there should be no reason to rinse the biological media as any debris etc. should not reach it.
- Chemical filtration
This is the last area of your filtration system, never use chemical filtration in front of mechanical or biological filtration. This is not always necessary and may be used sporadically as it is not always required. Activated carbon is a chemical filter that will remove any medication from the tank after a course of treatment, sometimes chemical filtration is used to reduce nitrate and phosphate levels. In fact chemical filtration can even be used to polish your water and leave it completely clear. All chemical media must never be left in the filter after its life span, by this time it will have soaked up as much as it can and the excess will start to leach back into the water. It is better to remove this media slightly before its expiration than try to get a few extra days out of it.
The use of an external canister filter with your display tank is much more beneficial than with the use of any other type of filter; they contain much more media than other filters and are much more reliable.
When we approach the subject of breeding tanks, it is a different set up completely but more of that later in the article.
Always keep your filters nice and clean, they will filter the water better which will mean healthier Discus!
Another adaptation to filtration is the use of UV sterilizers, these have been used for years in ponds but many aquarists have developed their use in their own tanks. Some of the modern filters may have built in units, all the better but they should always be used after the filter has done its job, never connect them to the inlet pipe of a filter, they can affect the bacterial colonies inside.
Basically the UV kills of any floating organisms that inhabit your tank water, these can be parasites, bad bacteria, fungal spores etc., and your filter will not rid you of these. As the tank water flows over the ultra violet light, they are wiped out never to reappear. The unit actually destroys the cell structures of these organisms by re-arranging their DNA. I personally, have never used a UV unit as I am a firm believer that if the water quality is high then there shouldn’t be a need, but like most aspects of fish keeping, everyone is entitled to have their opinions and use whatever they wish to.
If a UV is going to be used then the suggested rating need to be applied
- 4-10W for up to 100L (24.42 US gallons, 22 Imperial gallons) aquariums
- 20-25 W for 200-300L (~ 53 - 79 US gallons, 44 - 66 Imperial gallons) aquariums
- 40W for aquariums over 300L (79 US gallons, 66 Imperial gallons)
The tubes that fit these units will need changing every 6 months, failure to do so will result in the unit becoming useless. When changing the tube make sure the unit is switched off, UV light can be damaging to the eye. Prolonged skin contact with an open UV unit can lead to skin cancer in extreme cases.

As mentioned earlier, water quality is the mainstay of keeping your discus healthy, if the quality drops the discus will start to display symptoms of not being happy and long term it will affect their health.
When Discus were first kept in the fish keeping hobby it was claimed that they had to have a low pH but over the years many new strains, especially from Europe have become hardy to higher pH even up to 7.6. I prefer to keep the discus in an acidic pH as it tends to bring out the best colouration from them and you can just look at the fish to see that they are happy with it. In the display tank the pH should be as close to 6.5 as possible. This is not always as easy as it sounds. In some areas the pH from the mains water may be very alkaline; this can be lowered but try to avoid using the commercial pH buffers. They tend to be full of phosphates and this will lower your water quality.
Two of the most popular methods of lowering pH are by running the water through a layer of peat or by investing in a reverse osmosis unit.
If you are using peat make sure that it is free of chemicals, these will foul the water and affect your fish. Reverse osmosis units are now relatively cheap to buy and they will take everything out of the water leaving a sterile solution, this cannot be used in the tank until it has been re-mineralised with commercial compounds or by doing a percentage mix with mains water which has been conditioned.
The hardness of the water will also be needed to be monitored. Many tank- bred Discus are perfectly o.k. with harder water but wild bred Discus need soft water. The KH of the water is the crucial element; keep it down to 4-5 in your display tank, for the Discus fry it will need to be higher as they require the minerals for growth but in the display tank, your fish will be perfectly o.k. at this level. If the KH drops below 4 you run the risk of your pH crashing so never let it fall too far.
Discus need to be kept in higher temperatures than most other fish, lower temperatures can induce illnesses in them. Set the temperature on your display tank to 28 - 30°C (82.40 - 86°F), this is the least they should be kept at. The temperature reading should be monitored with a reliable thermometer, I tend to pay more and invest in the ones with a digital readout, as these tend to be very accurate. With larger tanks it helps to place a thermometer at both ends of the tank, if the water flow is not distributing the water flow evenly, there may be a difference between both sides of the tank. I prefer to use two heaters so that the heat source isn’t coming from one area, this keeps everything even and puts less stress on your equipment as one heater may struggle.
Any water that you are intending to add to the tank with water changes needs to have stood for 24 hours before use. It needs to be the same temperature as your tank water and must have been conditioned with a suitable water conditioner to lock any ammonia and chlorine present. If this step is missed the water will affect your fish’s health over a period of time. I use a reverse osmosis unit myself and rather than pay out for mineralising compounds. I do a percentage mix with HMA water. An HMA filter will remove all heavy metals from the mains water and if a CBR2 pre-filter is fitted it should also remove any chloramines, this is a compound formed when ammonia and chlorine combine, as is very toxic to the fish. The percentage of my mix is 50% RO water/50% HMA water but this is dependant on your geographical location. Mains water varies all over the world, some people are lucky and their mains water is perfect for discus, others-like me, are not so lucky.
Water changes are a key aspect of Discus fish keeping, the more the better. I perform daily 10% water changes; some keepers perform daily 20% water changes. Doing daily water changes will keep your tank water at a premium; the fish will benefit from this and will display their wonderful colouration much brighter. With growing on tanks for juveniles this is very important as the fish secrete a hormone that will inhibit their growth if it becomes too concentrated in the water. With every water change the substrate should be vacuumed for food debris and decaying matter, allowing the waste to stay in the tank will cause problems as sulphur dioxide will be produced as it sinks below the top of the substrate. The fresh water should be added back to the tank slowly, try not to frighten the fish when you first start doing the changes, they will get used to the routine eventually and will probably swim up to the gravel vacuum in time to see what you are doing.
Once the tank has been filled with the correct water it will need to be cycled, I prefer to use the fishless cycling method as most of the tank mates for a Discus tank are not suitable to be added to a brand new set up. Cycling the tank can take up to 4 weeks before any fish can be added but during this time, research which fish you are going to add to the tank Bear in mind that Discus should not be added to a tank that has been running for less than 4 months at least so that the water is stable. They cannot tolerate any form of parameter swings unlike some other species of fish.
Go to your local pharmacy or hardware store and buy a bottle of pure ammonia. Also purchase from you LFS a good quality water test kit. I personally swear by API test master kits. Liquid tests are better than strips.
You should add enough ammonia to your tank so that it brings the Ammonia reading up to between 4 to 6 ppm. The only way to do this is add a drop of ammonia, swirl it around, wait a moment, test the water and repeat. Remember how much ammonia you've added. It will vary depending on what concentration of ammonia you've bought, so there is no real guideline here. Keep note of how much ammonia you have added this is crucial. Each day add the same amount of ammonia, and check your ammonia an hour later. Once the ammonia reading drops to 0 start testing your water using your Nitrite test kit. This takes time, there’s no way to rush it, but believe me it is better for you and your fish. Keep adding the ammonia, and checking the Nitrite every day. The nitrite level should climb and then drop down to 0. This spike will occur over a period of days, so again be patient. When your nitrites are at 0 an hour after you add the ammonia, your tank should be cycled.
It’s usually best to keep a diary or log of your water test results. This cannot be rushed and will take roughly 4 weeks sometimes longer, not often less.
During this time you should keep your lights switched on for up to 10 hours a day. Do not perform any water changes during the cycling process.
Once your tank is fully cycled you can stop adding ammonia do a 50% water change and stock with fish. Then do a minimum of weekly 20% water changes and substrate vacs. If you can get hold of used healthy filter media great you can add up to a third of it from an established filter without it affecting the original tank. This will speed up your tank cycle immensely as you have given it a huge jump start.
You can also do fishless cycles using a raw prawn or by adding fish food to the tank and leaving it to rot; this will produce an ammonia spike and then a nitrite spike and cycle your tank also. Again take daily water samples and check the stats.
There is a particular order that I like to add the tank mates to the tank starting with the bottom feeders followed by the middle feeders and then finally the Discus themselves.
Suggested Tank Mates
For the bottom feeders there can only be one species of fish that I would consider, Corydoras. They are excellent at cleaning the substrate, very peaceful and comical in their antics. Due to the higher temperatures that the tank needs to be set at there are 2-3 species that are ideal. Some of the other species may struggle with the heat but these are ideal:
Always keep these in small groups as they are a social fish and will enjoy each others company.
I also like to add a couple of plecs for tank cleaning duties, why struggle to keep the glass clean when the fish will do it for you!
Bristle nose Ancistrus
These are great tank cleaners; add 1 male and 1 female, you may even get some offspring. Be careful about adding two males together as they can become territorial as they mature.
For the middle feeders I always choose tetras. Particularly the Cardinal tetras, they look spectacular in a shoal as they swim around the tank and get on well with the Discus. Glowlight tetras and Rummy nose tetras are also ideal, the choice is yours.
Rams are an excellent choice of tank mate, although the males can be a bit feisty at times, they tend not to bother the Discus.
Once the time has arrived for purchasing your Discus, excitement will be at a high; after all you have waited all of this time to add them to the tank. You have some choices as to where you purchase them from, I normally deal direct with the breeders but this option is not always available to everyone. Most of the aquatic stores will sell Discus nowadays but their knowledge of them may be a bit restricted in some cases. There are several pointers that can be used so that you know what to look for before you buy.
Selecting your Discus
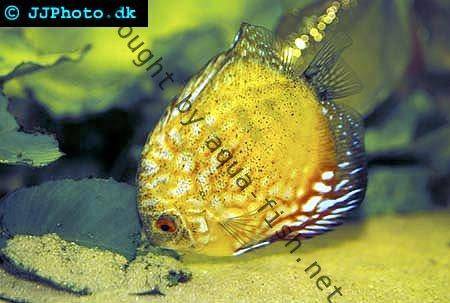
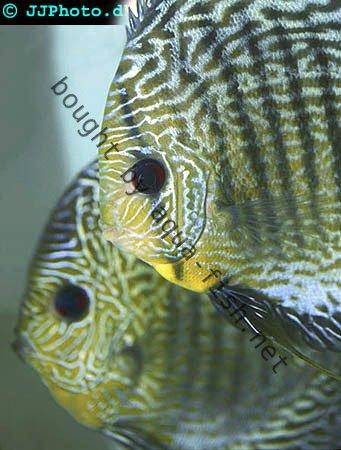
Never buy a Discus fish on impulse, you could regret it later, always look at the fish for about 20 minutes and observe it swimming about. Make sure they are not hiding in the tank, as you approach, they should swim towards you expecting food. Take particular notice of their gill covers to check for damage or even to make sure that they are not missing.
The mouth should not be twisted and they should be breathing at a steady rate, if it looks like it is breathing at a fast rate walk away from it and don’t buy.
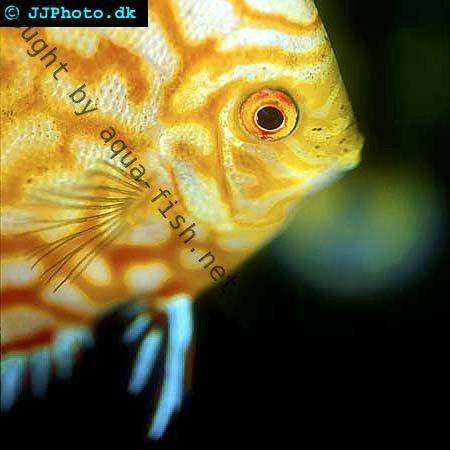
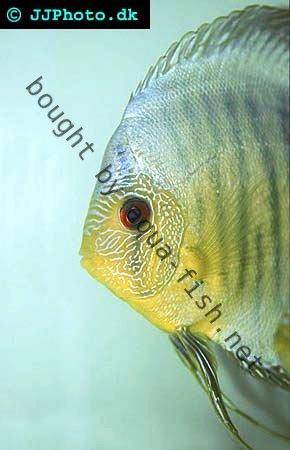
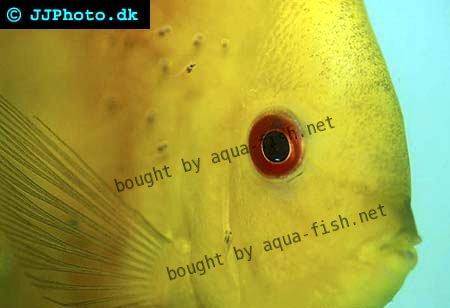
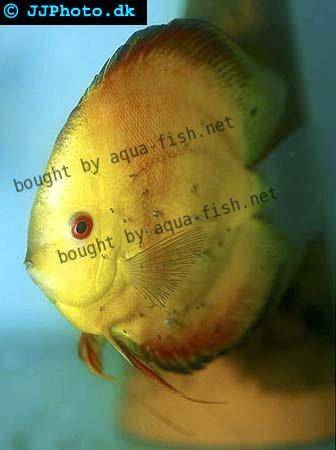
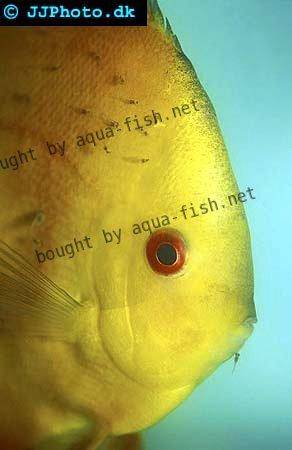
The eyes should be bright and clear, if the look too large for the body there is a high chance that the fish is already stunted. The fins should be raised and not clamped down, and the colouration should be bright. If the fish is startled the vertical bars should appear and then recede as soon as it settles down again.
Take a close look at the forehead of the fish, it should be fleshy and not sunken, Hole in the Head disease can be a problem with Discus if they have been kept in poor water conditions.
Speak to the dealer and get as much information out of him as you can about the fish, get him to feed them while you are there. They should accept the food straight away.
I would never buy a discus that is less than 2 inches (5.08 cm) in length, there is still a chance of the fish being stunted without you realising it, always buy the largest fish you can afford. Check the faeces of the fish, it should not be hanging but be at the bottom of the tank in small pieces.
Never buy a Discus that has white, stringy faeces, this is a sure sign that it has internal problems!!!
Acclimatising your Discus
The best way to introduce discus into the tank is with very slow acclimatisation. I normally take 60-90 minutes before I add the discus to the tank, once they are in they will be looking for food after 5 minutes. Some keepers find the slow method a bit long winded but I have always had good results with it.
The first thing I do is attach a length of airline to the tank with a plastic clothes peg, the airline is then run down to a food grade bucket
Attached to the other end of the airline is a flow restrictor which is set to 2 drops/second
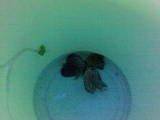
Carefully place the discus on their side in the bottom of the bucket with the bagged water and let the tank water drip in. I find that laying the discus on their side prevents them from darting around and injuring themselves.
Once the water volume has doubled, start removing some from the bucket and repeat the process until you are sure that all of the bagged water has been replaced and by now the discus should be swimming about. Very slowly net the discus and place them in the tank.
By this method they should be looking for food after 5 minutes in the tank.
Feeding your Discus
The secret to keeping your discus happy with their food is to vary the diet everyday, giving them the same foods will bore them and they will miss out on nutrients required for a good growth rate.
The main diet should consist of a quality flake or granular food.
Flake foods
There are many new varieties of flake food available on the market, I try to use the foods that contain garlic as this can help to build up their immune system. Several companies have developed flakes with earth worm, brine shrimp and beef heart additives. These are excellent foods and the Discus will always accept them.
Granular foods
I have always had the best results with granular foods, some foods of this type may be advertised at bargain prices but its best to avoid these as they are not always what they seem. The most common granular food available is Tetra Prima; it provides most of the nutrients required by the fish and settles easily on the substrate for the Discus to pick at.
Brine Shrimp
These make a good live or frozen food for the Discus, if you are using frozen, rinse the cube before offering them to the fish to remove any phosphates etc. in the ice. Do not feed these more than 2-3 times per week but they are also great for relieving constipation in the fish.
Blood Worms
Many keepers use blood worms to help new arrivals settle in the tank. As with the brine shrimp they should be regarded as treats, overfeeding with these can lead to digestive problems but 1-2 times per week is acceptable. Try to remove any uneaten blood worms from the tank as they can soon foul the water.
Beef/Turkey Heart Mix
This food is full of protein and can be prepared by anyone. Make sure that all of the fatty sinews are removed from the heart before mincing it and then blending to a pulp. It should be mixed with spirulina, prawns, garlic and add some children’s vitamins to the mix. Bind the mixture with gelatine and freeze in flat sheets, it can then be simply broken into pieces and used as required. Always remove any uneaten mix from the tank as it can soon break don and foul your water.
When feeding your Discus it is better to provide 3-4 small meals throughout the day rather than giving them 2 large ones. One day a week it is advised not to feed the fish to give them the chance to clear out their digestive system.
Discus Diseases and how to medicate
Discus fish have always had a reputation for being prone to any disease going, nowadays they are a lot hardier than in years gone by but the fish should always be checked for any tell tale signs that they may be infected. The earlier that a problem is spotted the easier it is to deal with it. Any infected fish should always be taken from the display tank and treated in a hospital tank, not only does this sometimes prevent other fish from becoming infected but it gives the fish the chance to rest while recovering. Another good point is that as the hospital tank holds a smaller water volume, less medication is required to reach the correct dosage; this in turn will save you some money.
-
Hole in the Head disease
Unfortunately this is a wide spread problem with a lot of the larger cichlids. It is often brought about by poor water quality or lack of nutrients in the diet and if not treated straight away can leads to permanent damage to the fish or even death. Raise the temperature of the tank by a few degrees and treat with a Metronidazole based medication. This may take a few days to show signs of clearing but should eventually dissipate. Check the water quality in your display tank and perform a large water change if required.
-
Skin and Gill flukes
Flukes are worm like parasites that attach themselves to the fish and cause damage to the skin and gill areas which if not treated can cause fatalities. Many fish that are sold in the aquatic shops can bring these into your tank, hence the need for quarantine tanks where the new arrivals can be treated before joining the main tank. Gill flukes (Dactylogyrus) and Skin flukes (Gyrodactylus) attach themselves by means of a series of hooks and often when swabs are examined under the microscope the hooks, eggs and bodies of the flukes are clear to be seen. They insert themselves into the flesh, damaging the skin and gills and this will often lead to secondary infections due to the open wounds.
Symptoms:
- The operculum (gill plate) may be permanently open or closed.
- Infected fish may look emaciated as the flukes feed off the blood and tissue cells.
- The fish may flick and rub against objects.
- Rapid breathing rate and discoloured gill filaments.
- The skin may appear cloudy as excess mucus is produced.
Treatment
- Praziquantel (known as Drontal-UK, Droncit-USA)
- Salt dips to remove the parasites
- Acriflavin to detach the parasites
- Flubenzadol, this is often found in wormer powders.
When treating the fish it should be noted that commercial treatments will only affect hatched flukes, the eggs are resistant, repeat the treatment over a period of weeks to ensure a clean tank. Often pond keepers will drain their ponds when flukes are found as the parasites cannot live out of water for any length of time.
If the flukes are allowed to live in your tanks and infect the fish for a long period it can lead to Septicaemia which will nearly always prove to be fatal.
-
Fish Lice
Fish Lice are a nasty piece of work if found on any aquarium or pond fish. They are the only aquatic parasite visible to the naked eye. They can bring on bacterial and secondary infections as they slice into the fish tissue, injecting a sting that contains digestive enzymes to break down the fish’s body tissues so that the "soup" can then be sucked back into the lice by means of a proboscis.
They are classed as belonging to the same family as shrimps, prawns and water fleas; they moult through their adult life as their body size increases. Mating always takes place on the body of the fish host but the female lice will then swim away to lay her eggs on plants or tank decor. Four days after the juvenile has hatched out it will look for a host to feed off, because of this reproductive cycle eradicating them is virtually impossible once they have entered the tank.
Symptoms
- The fish may be seen flicking trying to remove the lice
- Black dots will be seen crawling over the fish’s body
- Ulcers will appear on the skin as the lice are feeding
Treatment
- Unfortunately the only effective treatment against fish lice is with the use of organophosphates -**these are now banned in the UK **
- Removal of adult lice can be performed with the use of tweezers
- A complete tank breakdown is required to remove any lice eggs that are laid on plants or decor
- Inspection of all fish in the tank for signs of lice has to be performed
Footnote: Organophosphates are compounds of phosphoric acid. They are used in many insecticides, herbicides and nerve gas.
One advantage the Discus has over many fish is that white spot very rarely occurs due to the higher tank temperatures, the spores cannot maintain their life cycle in that heat.
Breeding Discus
To many Discus keepers, getting them to breed is a high that cannot be matched as much when breeding other species. The sight of seeing the fry feeding off their parents is a wonderful event, the first time my Discus bred it was like waiting for the birth of my own children, I was that excited. Setting up for breeding is not a matter of putting 2 fish into a breeding tank and raising the fry, you will need at least 3 tanks for every breeding pair of fish that you have so this can be quite an expensive hobby.
The best way to get a breeding pair is to purchase a group of 6 Discus and let them pair naturally, there are many signs to let you know when they are pairing, they will spend a lot of time together, shimmying and holding mock fights with each other. The future pair may start to defend a certain part of the tank, claiming it as their own while the rest of the fish have to move to the other side. Once you are confident that you have a pair it is time so set up your breeding tank.
The secret to keeping a successful breeding tank is to make it as simple as possible; this will make the tank maintenance a lot easier. All that I used for breeding tanks were 24” (60cm) cubes that contained a heater, sponge filter and a heater. The tank was bare bottomed and there was no need for any lighting except at night when a special dusk lamp was used, the reason for that will be obvious later on in this article. A spawning cone was also added or I used to purchase the tall terracotta plant pots and place it in the tank upside down, just as good and half the price. The fish when they spawn may still prefer to use the tank glass but at least you have given them the choice. The pH of the water needs to be between 6.0 and 6.5 with the temperature of the tank set at 32°C (89.60°F). For the purposes of breeding I reduce the hardness of the water as this seems to encourage the spawning but always make sure that the KH is high enough to prevent a pH crash. When you are breeding discus it can be very difficult to get the water right if you haven’t invested in an RO unit, as mentioned earlier, they are now quite cheap to buy and definitely worth it.
The parent fish should be conditioned with lots of protein rich food for a couple of weeks before placing them in the breeding tank, a full diet of the beef heart mix will suffice, when they start breeding the food offered will be reduced to keep the water as pure as possible.
Once the parents are conditioned place them in the breeding tank. Great, now I’ll get some eggs- not always the case! Sometimes it can take weeks before the fish spawn and months before you end up with a successful batch of fry. Will all aspects of fish breeding patience is indeed a virtue.
There are a few little tricks that can sometimes induce the spawning:-
- Add a little black water tonic to the tank water
- Perform a small water change with slightly cooler water
- Drop the level of the water in the breeding tank and slowly raise it over a period of days
- Split the parents up for a few days and then try then again in the breeding tank
Most pairs will spawn without the above tips but there still maybe problems with younger parents as they are new to this game and need to learn the art of raising their young. The first few batches may result in the eggs being eaten or not being fertilised but they will get the hang of it eventually.
The actual spawning will be initiated by the parents cleaning their chosen, this can take place for several days or they may be keen to spawn and the cleaning is completed in a few hours. Once this starts to happen, slow down the filters in the tank as this will help the male in the fertilisation, too much current can disperse the sperm away from the eggs. When they are satisfied with the site the female will deposit her eggs in long rows quickly followed by the male fertilising them. This process will be repeated until all of the eggs have been laid. Now this is where it starts to get a bit stressful for the fish keepers as they keep n eye on what is happening with the eggs. Any eggs that turns white are either unfertilised or have fungus on them. This should not be a major problem as the parents will remove any eggs that are white, they are constantly guarding them and fanning the water over them non stop.
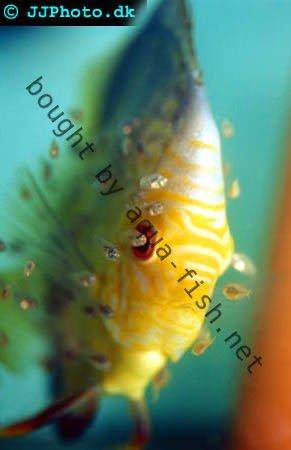
The eggs that are still brown should hatch after 48-72 hours and the fry will be attached to the spawning site, wriggling about and sometimes falling off, the ever watchful parents will replace them to their original spot.
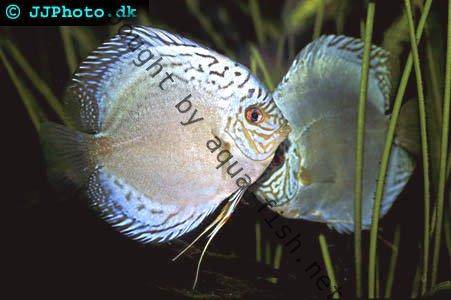
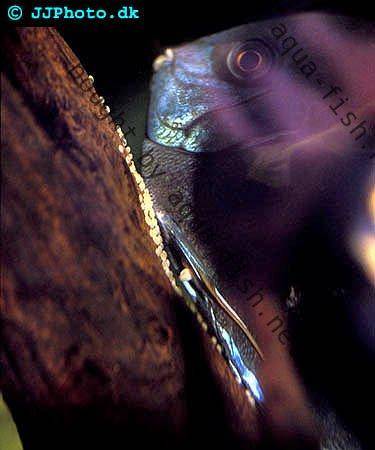
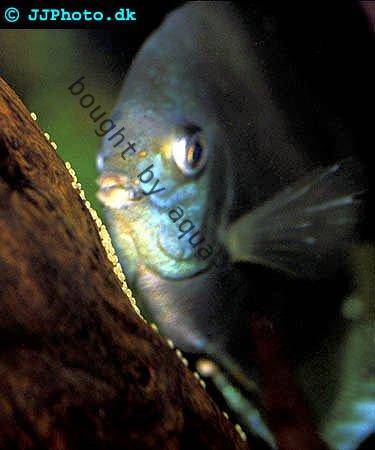
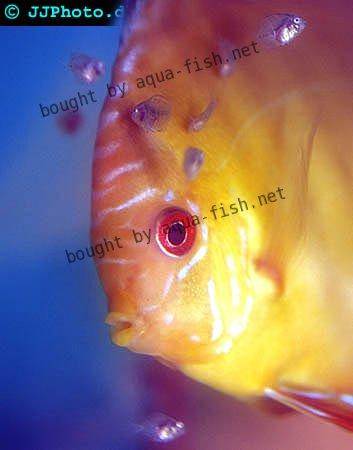
These are two pictures from my breeding tanks of parents with their fry. In the second picture you can see the fry feeding on the mucus
At this stage you should not attempt to feed the fry, they will be consuming their yolk sacs and do not need any extra food; all this will do is foul the water. A few days later the fry will become free swimming and start to feed off the mucus on their parent’s bodies. They will swim between the parents taking it in turns to feed, the mucus is vital to the fry as it contains nutrients and antibodies required to give them a good star in life. Often the parent fish will darken as the mucus builds up on them, this is perfectly natural and nothing to worry about. Only feed the parents minimal amounts of Tetra prima to make sure that the food gets eaten and none is left, the tank water has to be as pure as possible. After the first week you can start to supplement the diet of the fry with a commercial liquid fry food or newly hatched brine shrimp, this is also the time to perform the first water change. In the breeding tanks I carefully siphon out the water with a piece of airline but I also let it run into a white plastic bowl. This is a good way of checking that no fry have been siphoned out of the tank, if they have they can be easily replaced.
The fry only have very small stomachs, feeding them large amounts of food in one go just doesn’t work, it is far better to give them small meals 5-6 times a day.
A few days later it should be quite easy to spot growth on the fry and they will be eating larger amounts of food in each session, they may keep returning to the parents for the odd meal of mucus but this should be slowing down. By week 3-4 they will be eating Tetra Prima crushed down slightly and small amounts of beef heart. This is now the time to move them to a growing on tank and away from the parents who will be considering another spawning.
The growing on tank should be slightly larger and the water should gradually be made harder and the pH higher than in the breeding tank. Water changes need to be performed everyday; this also has the added benefit of speeding up the growing process in the fry. Continue feeding as before and by the 8th week they will be large enough to sell or keep for new breeding stock. It will take Discus 12 -18 months to reach maturity so think carefully on how many fry you actually need to hold back each time.
Sometimes it just isn’t feasible to keep the eggs with the parents; they may eat the eggs batch after batch so raising the young away from them may be the only option. If this is the case then the hatching tank will need to be fitted with an airline and stone. Use the water from the parents tank, eggs and fry do not like changes in the water parameters, and make sure that the temperature is the same. Place the eggs near the air stone and this will mimic the parents fanning the water. The eggs should hatch after the same length of time as parent raised batches and the wrigglers will stay attached to the spawning cone for several days. A few drops of Methylene Blue should prevent any fungus appearing on the eggs and is a good precautionary method to perform each time. As soon as the fry are free swimming make sure that they get their first feed of liquid food, if they go hungry many of them will die. Once you have managed to get them eating they should respond to their diet the same as normal raised fry.
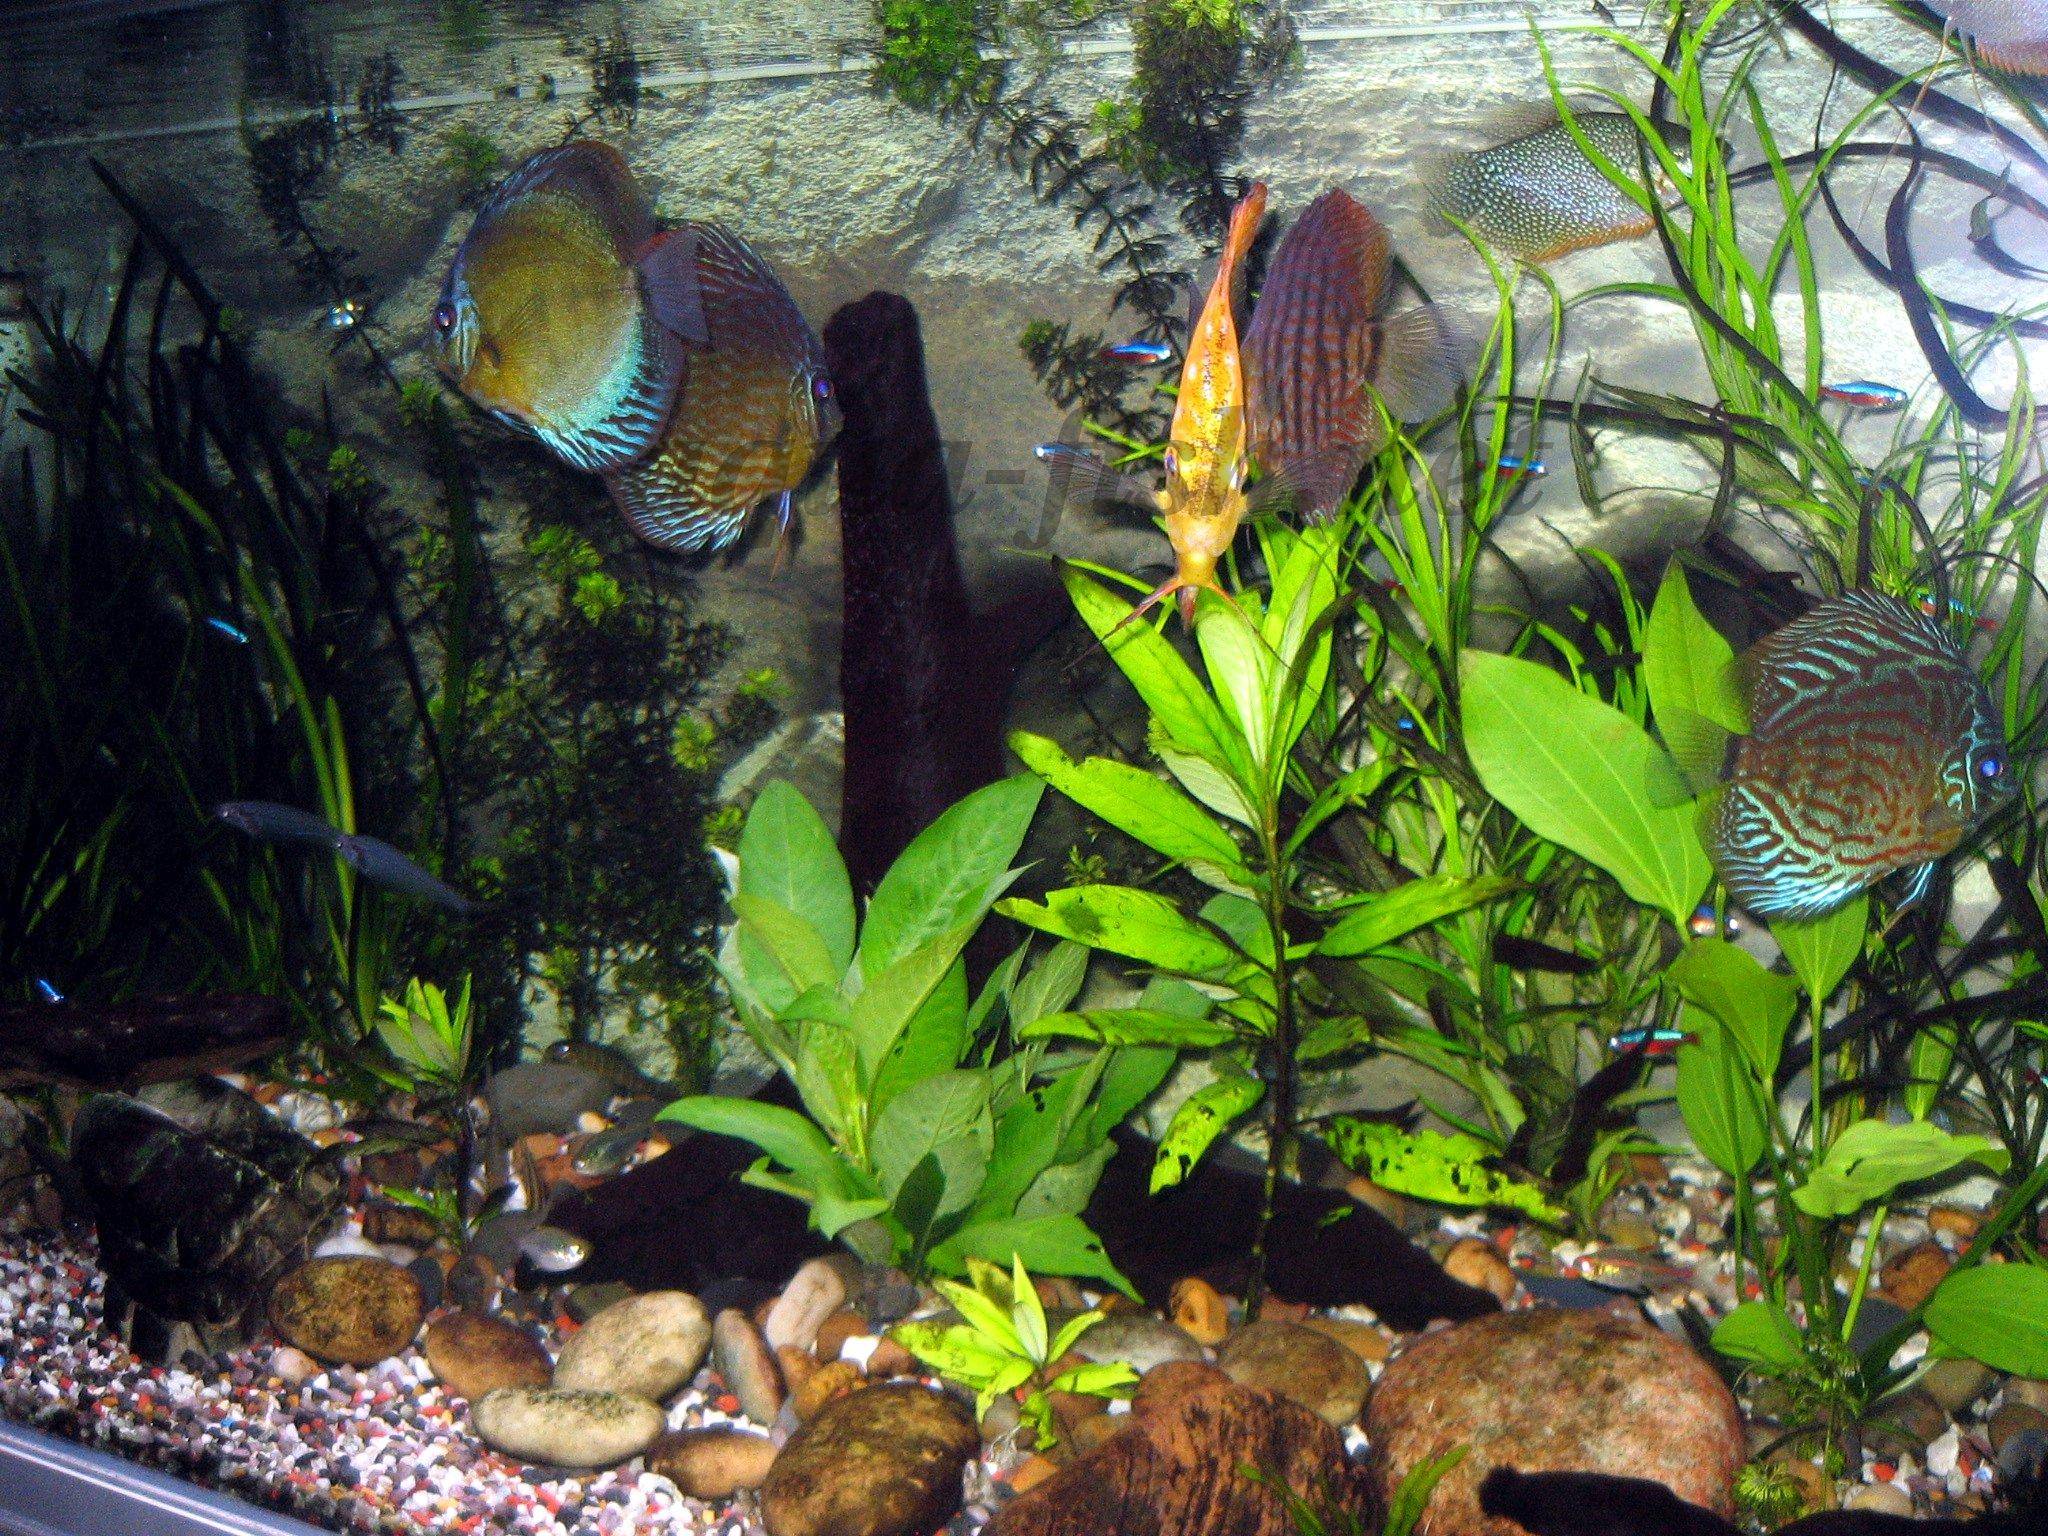
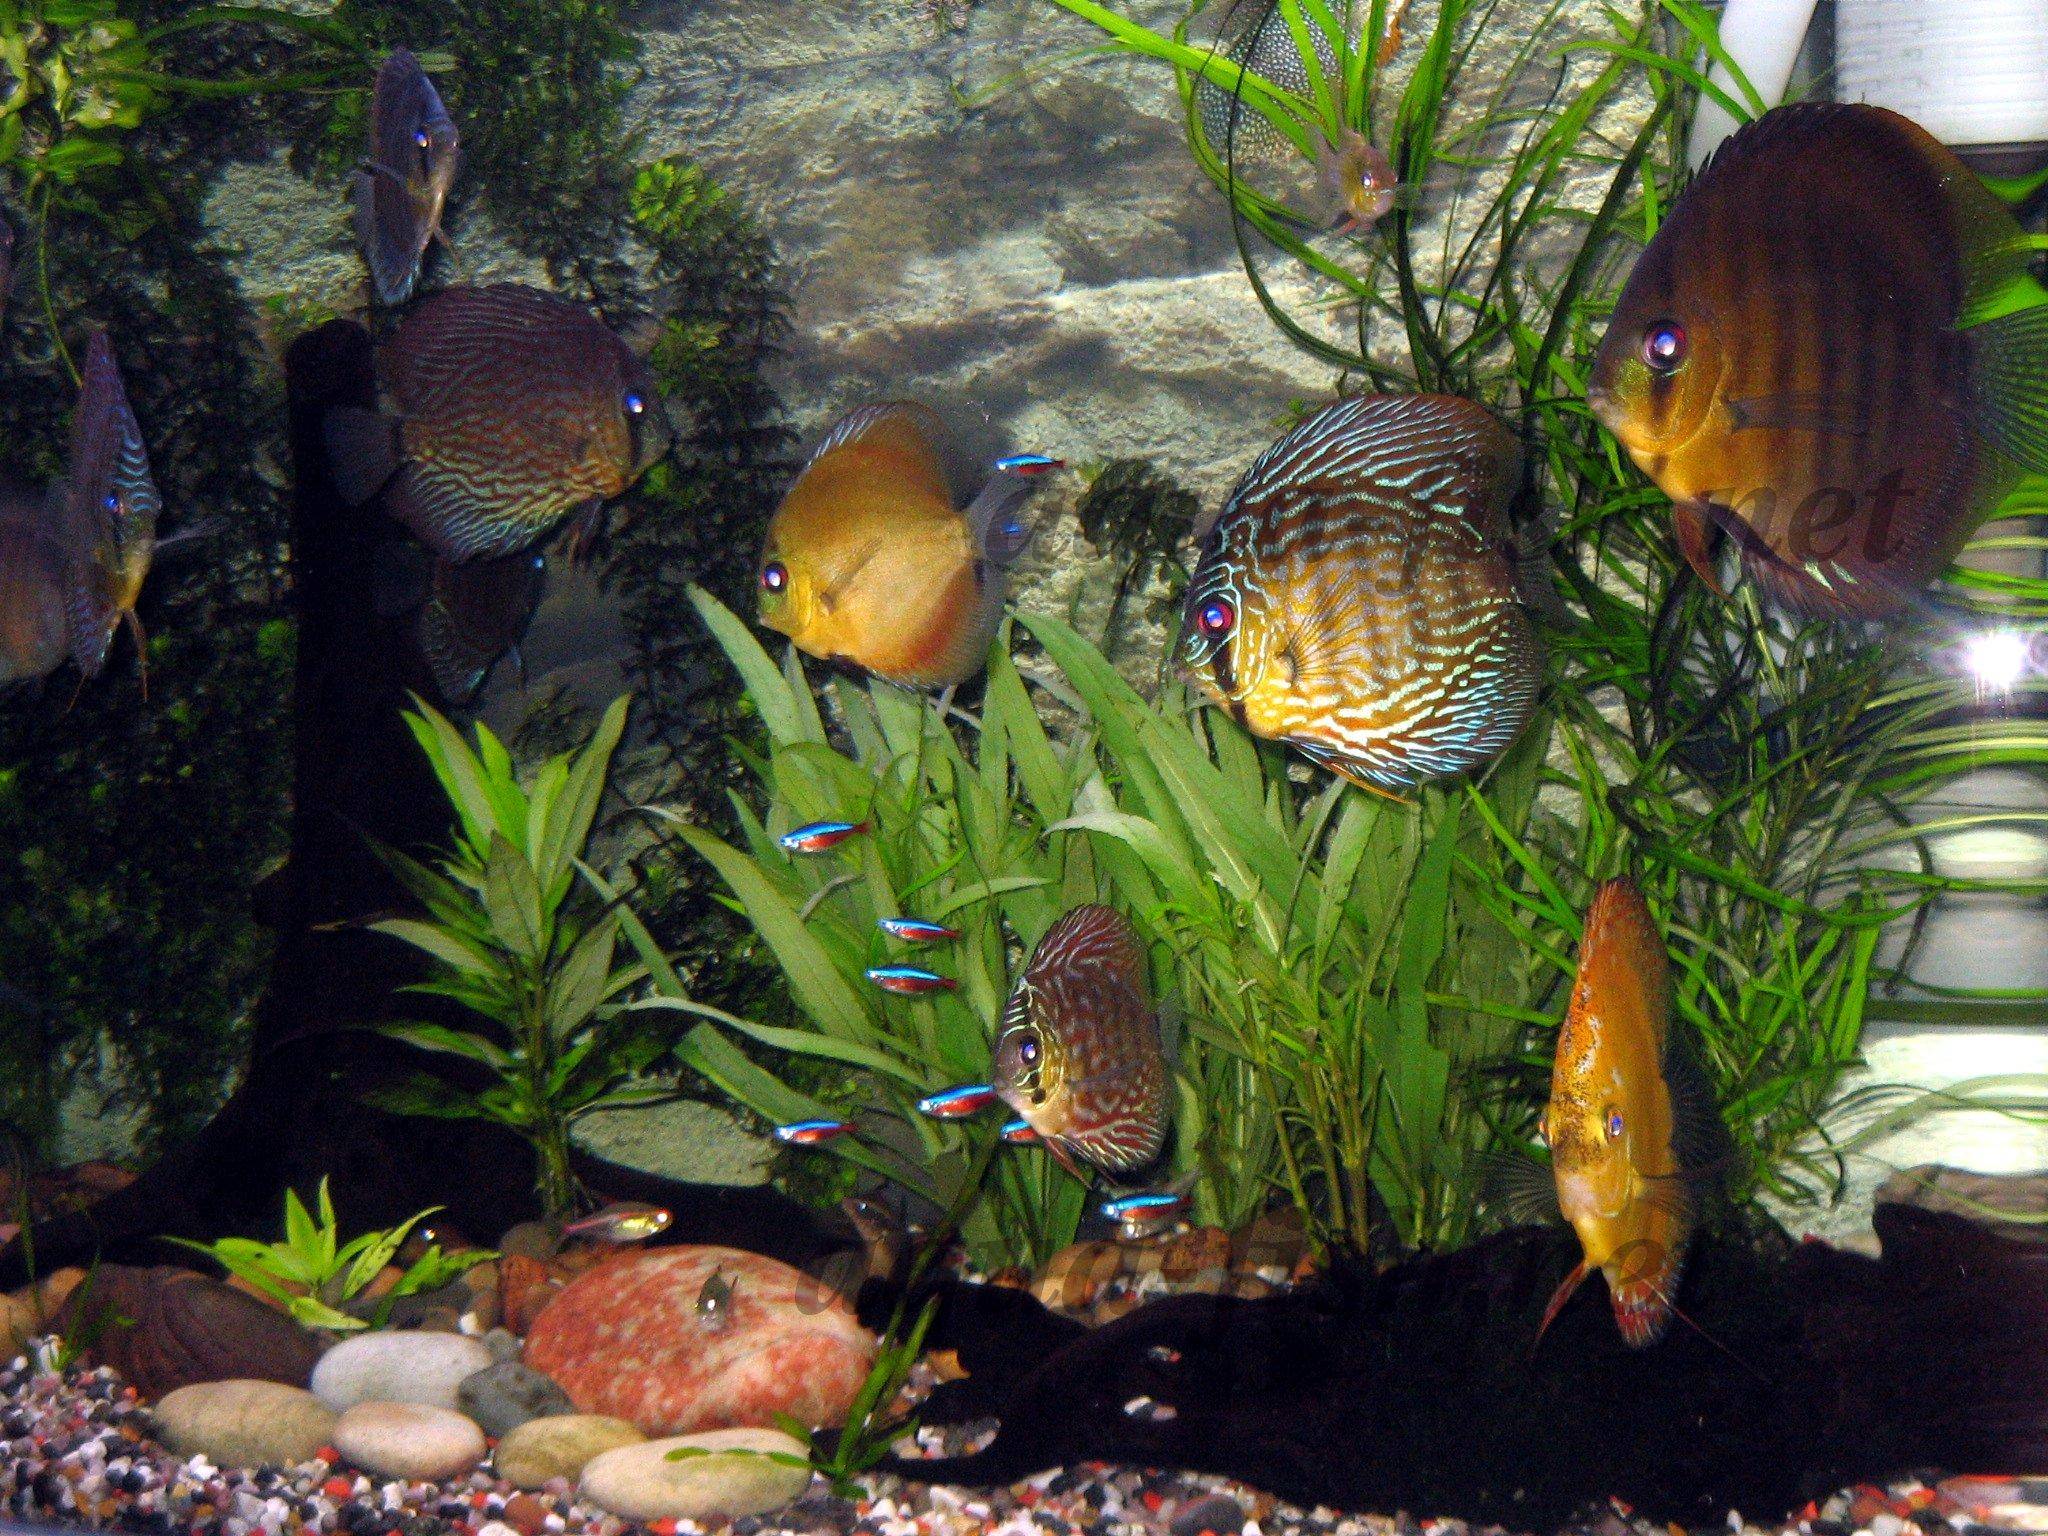
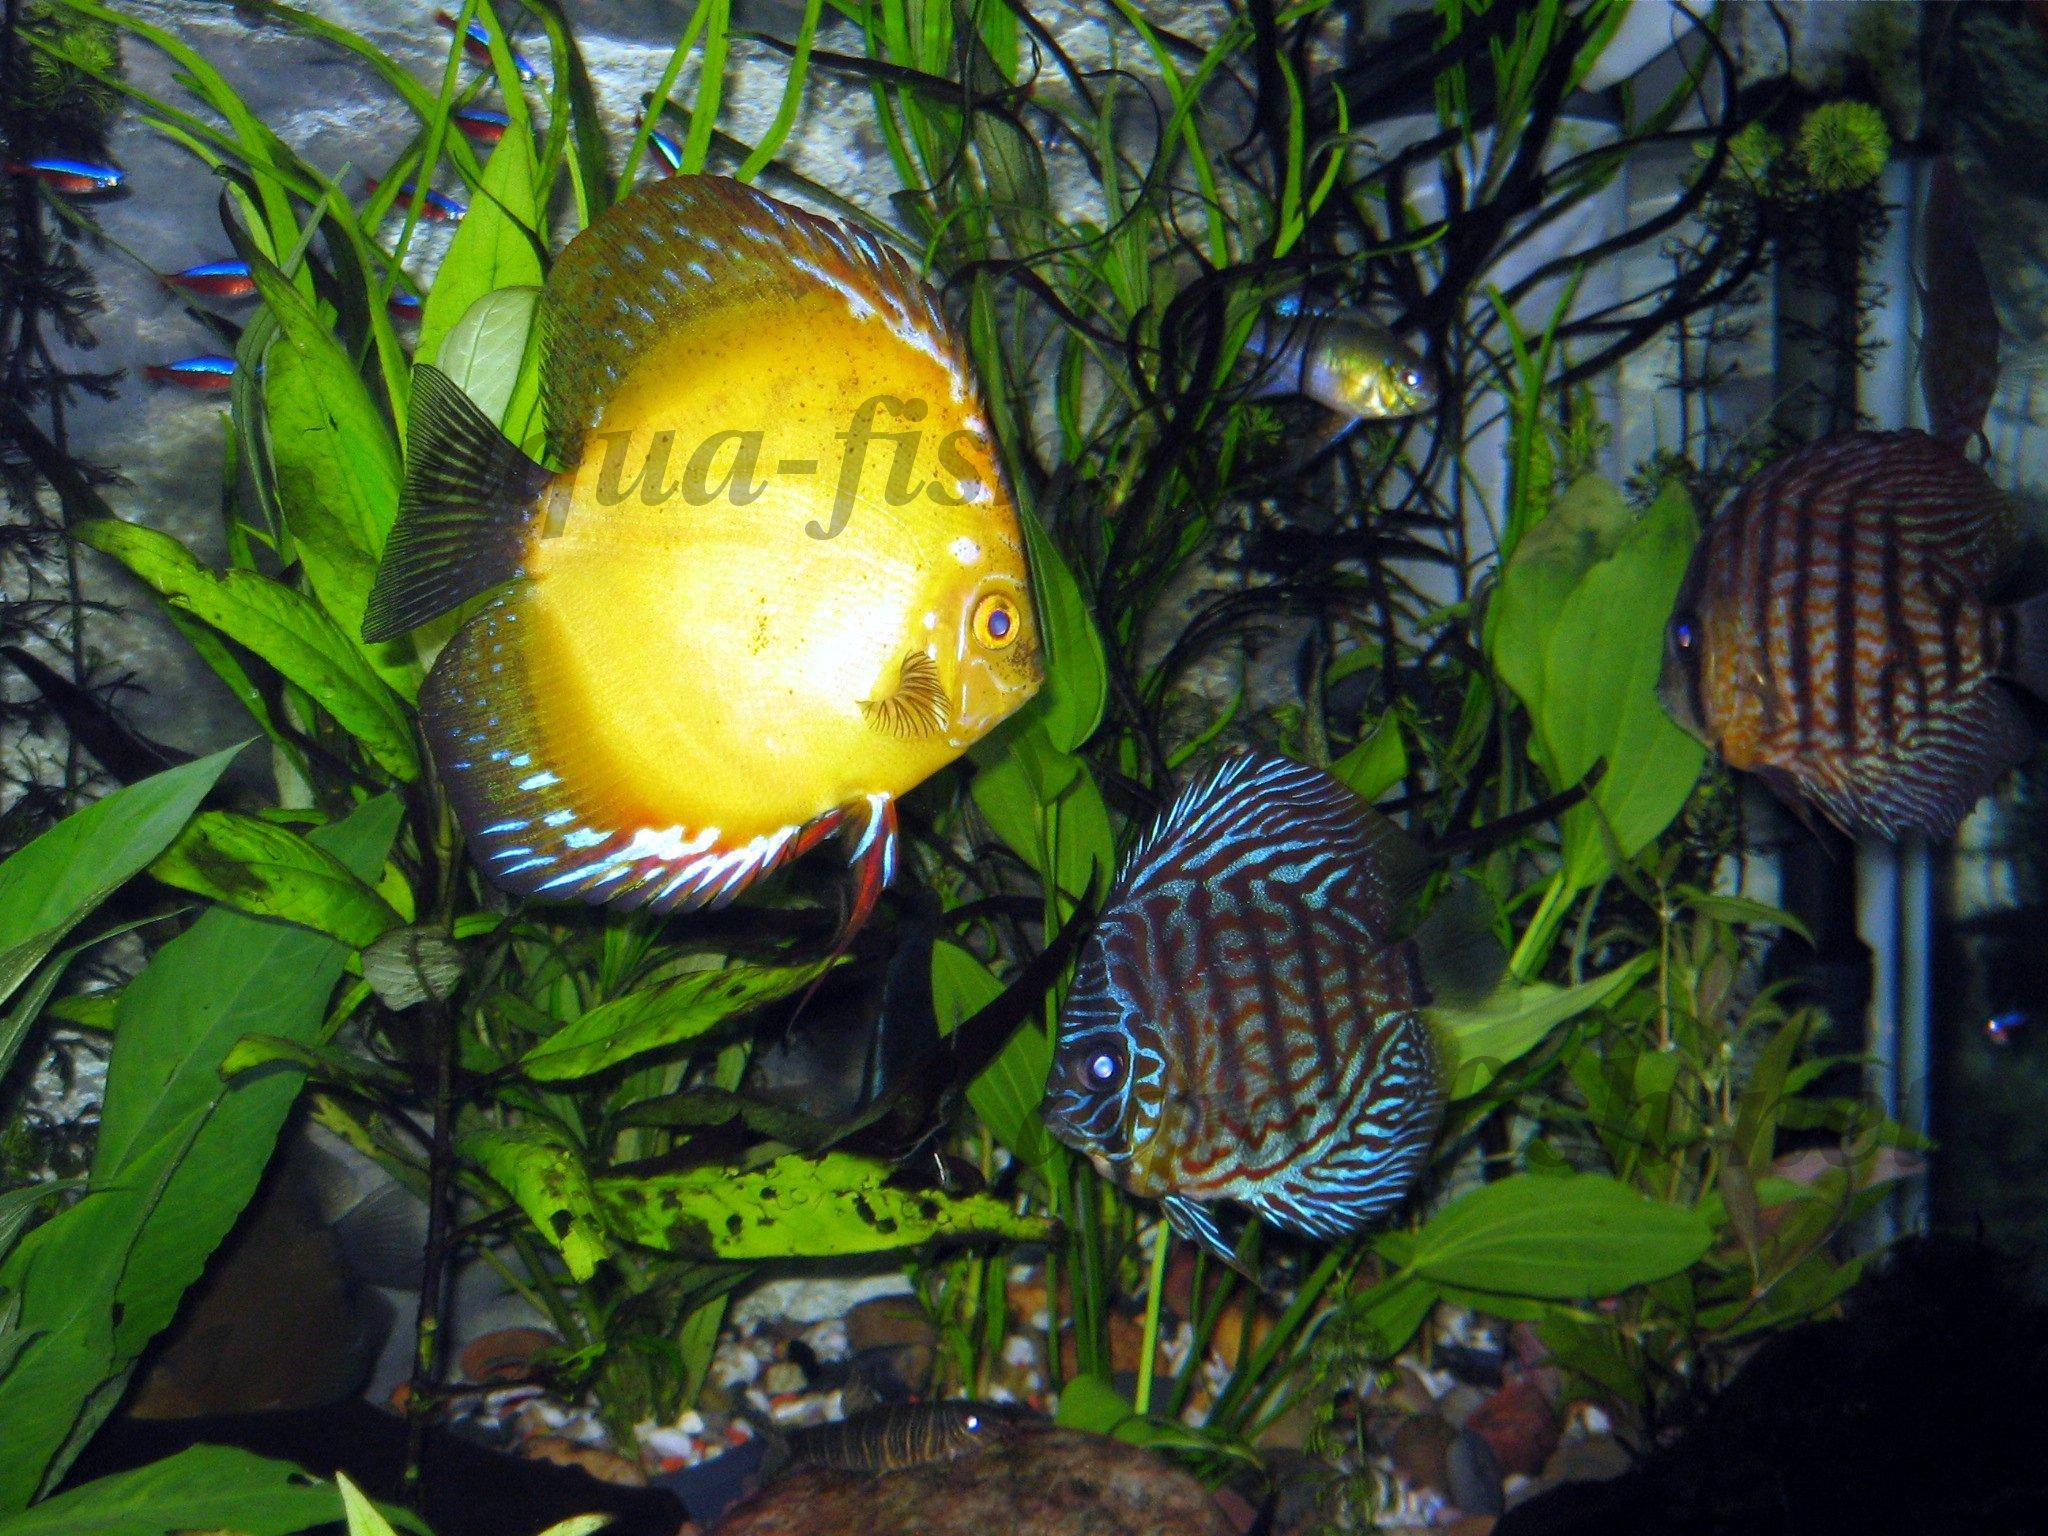
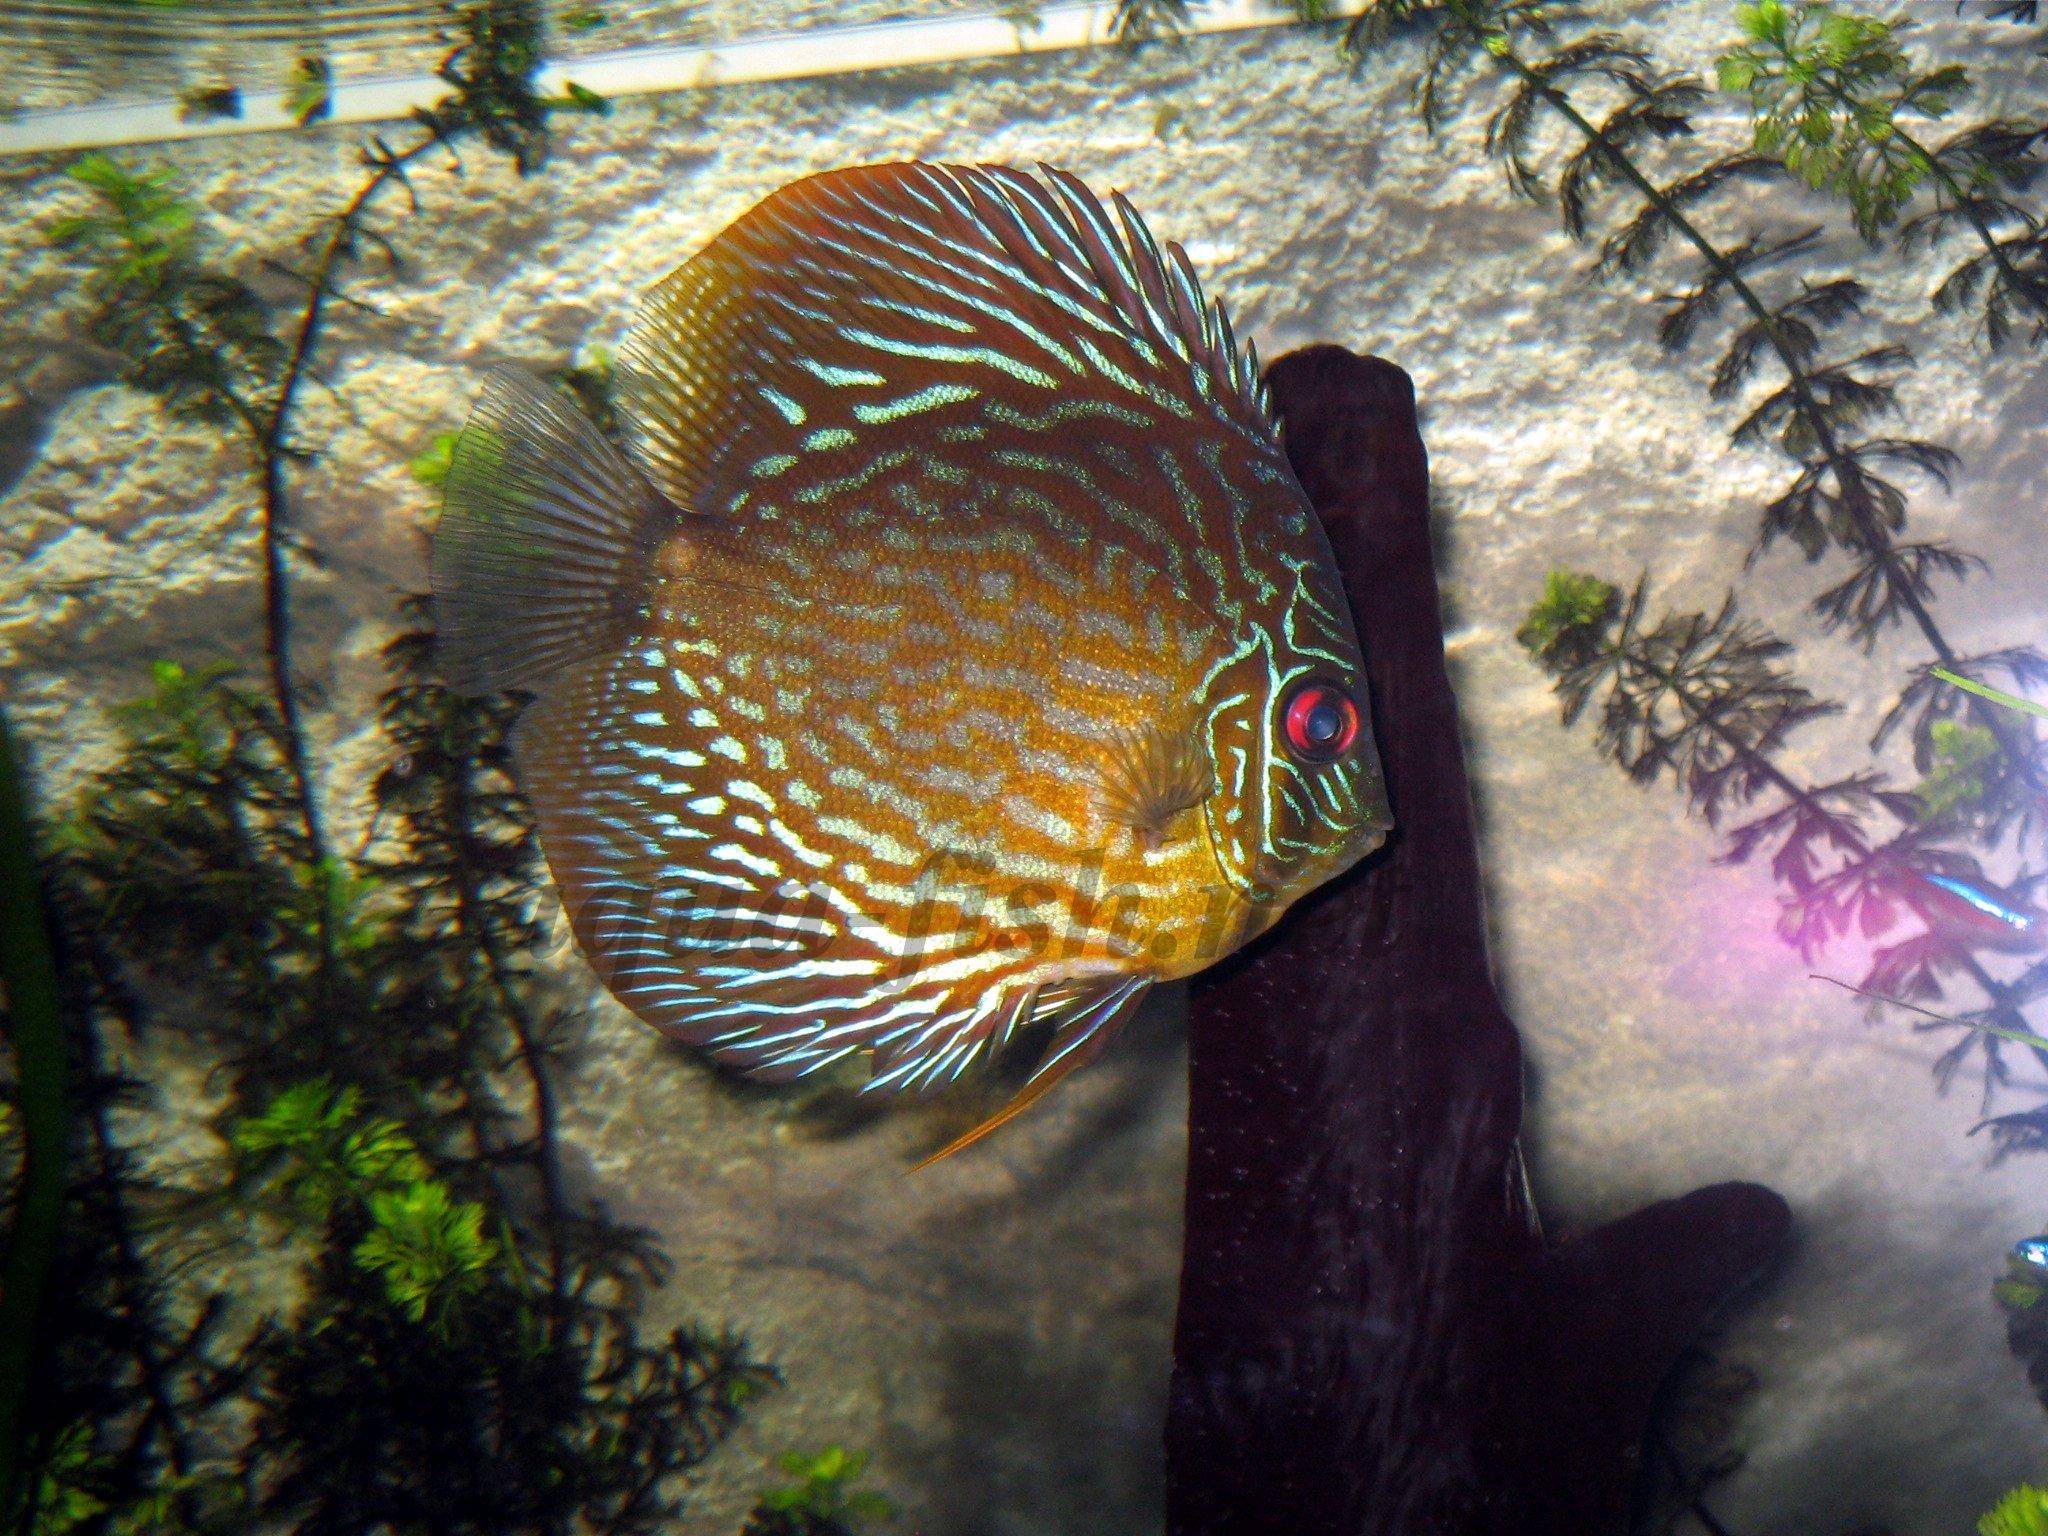
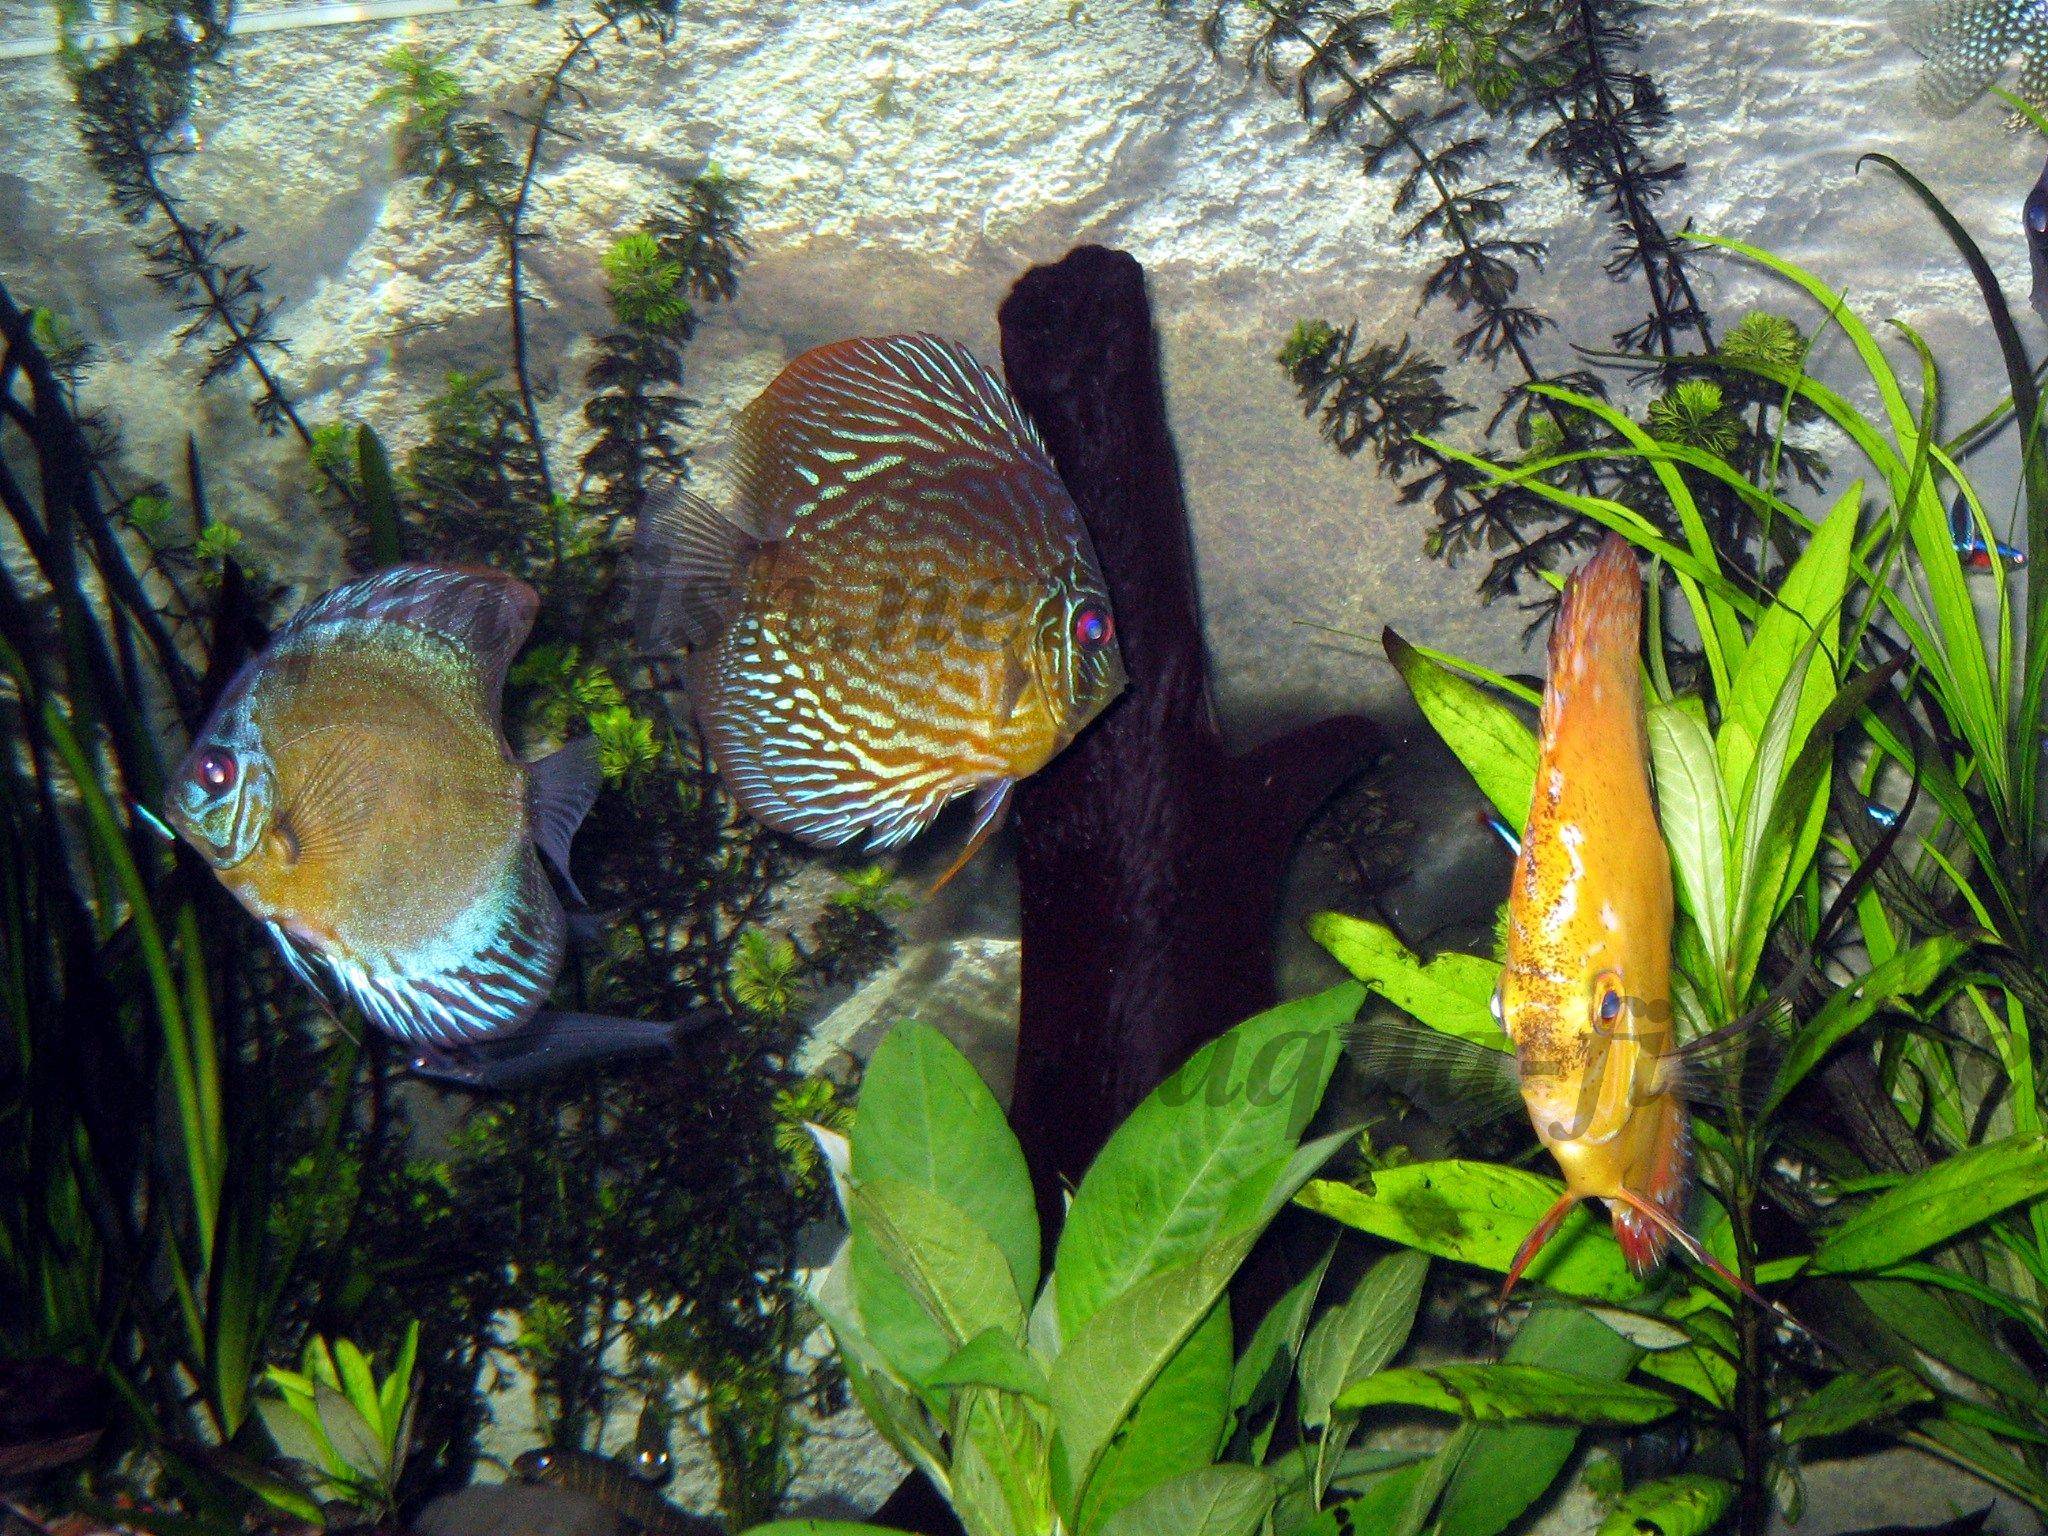
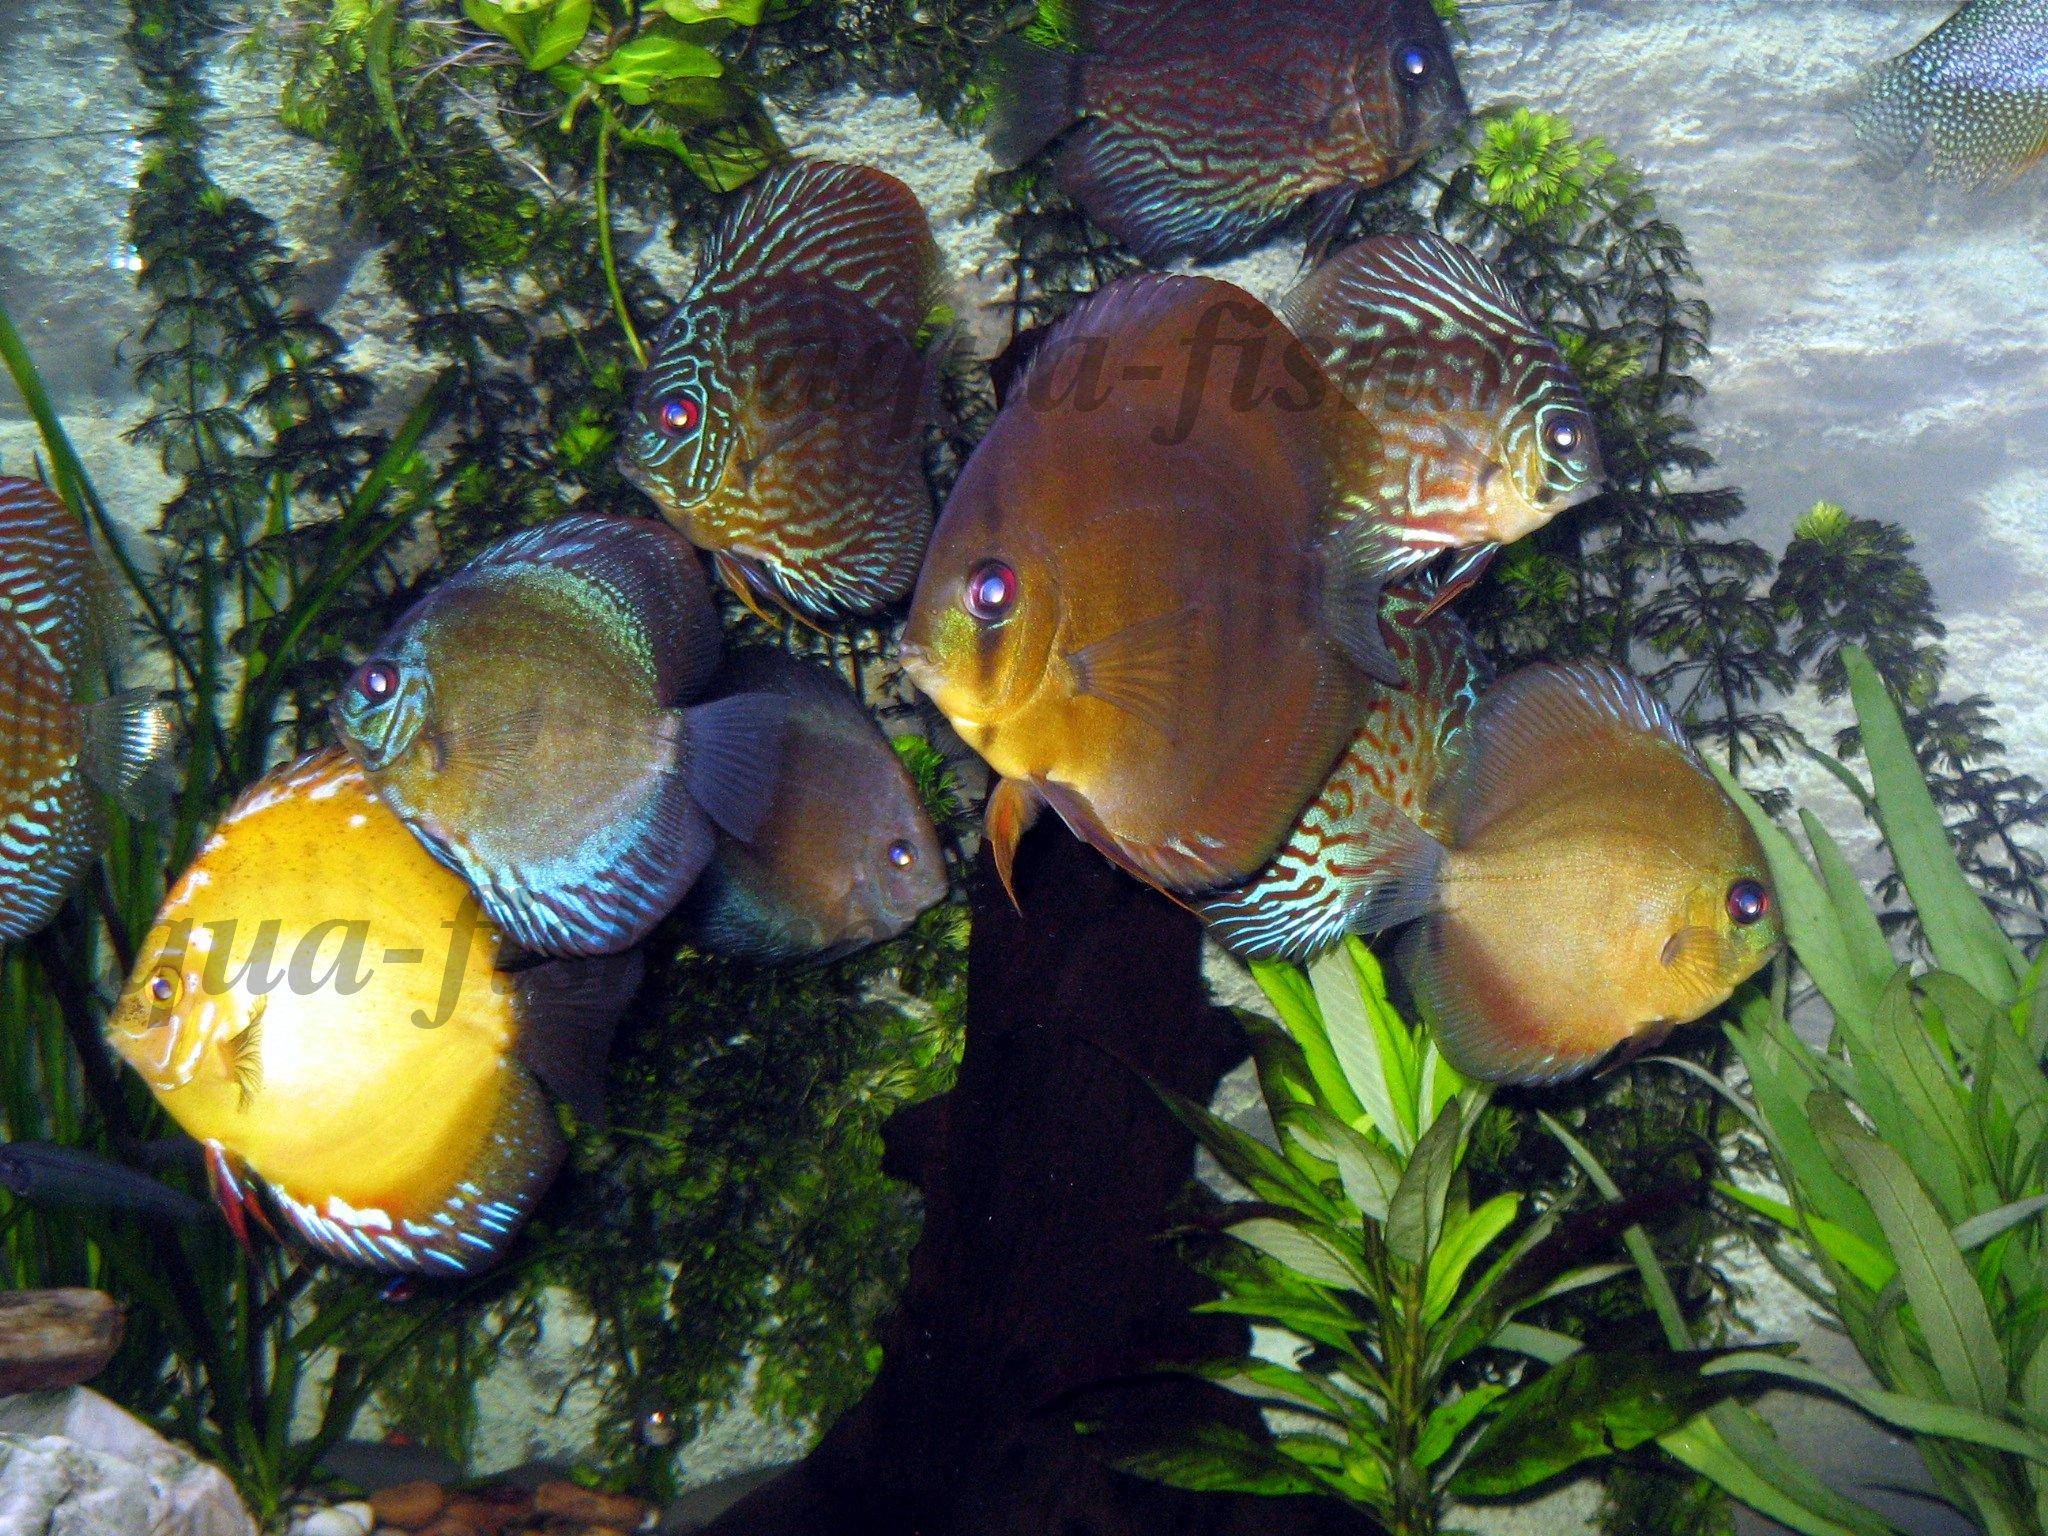
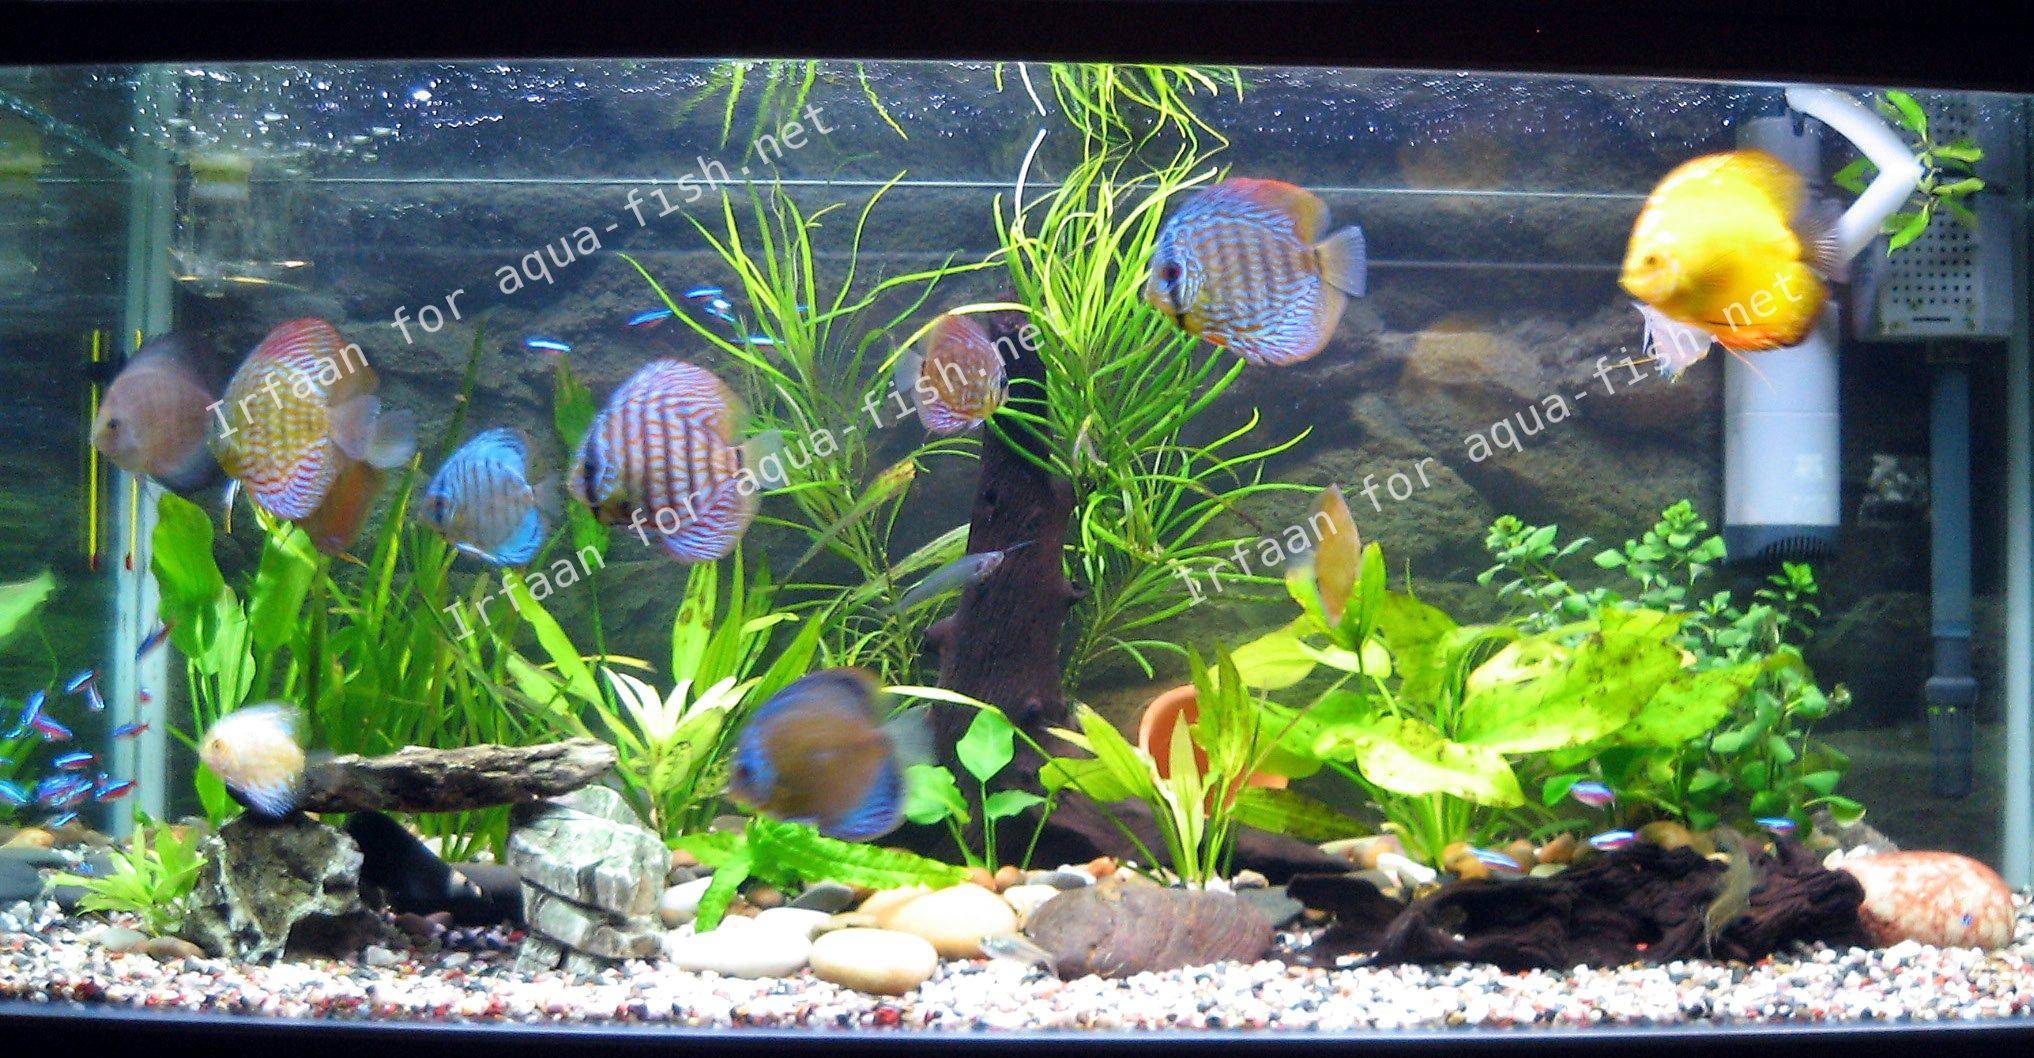
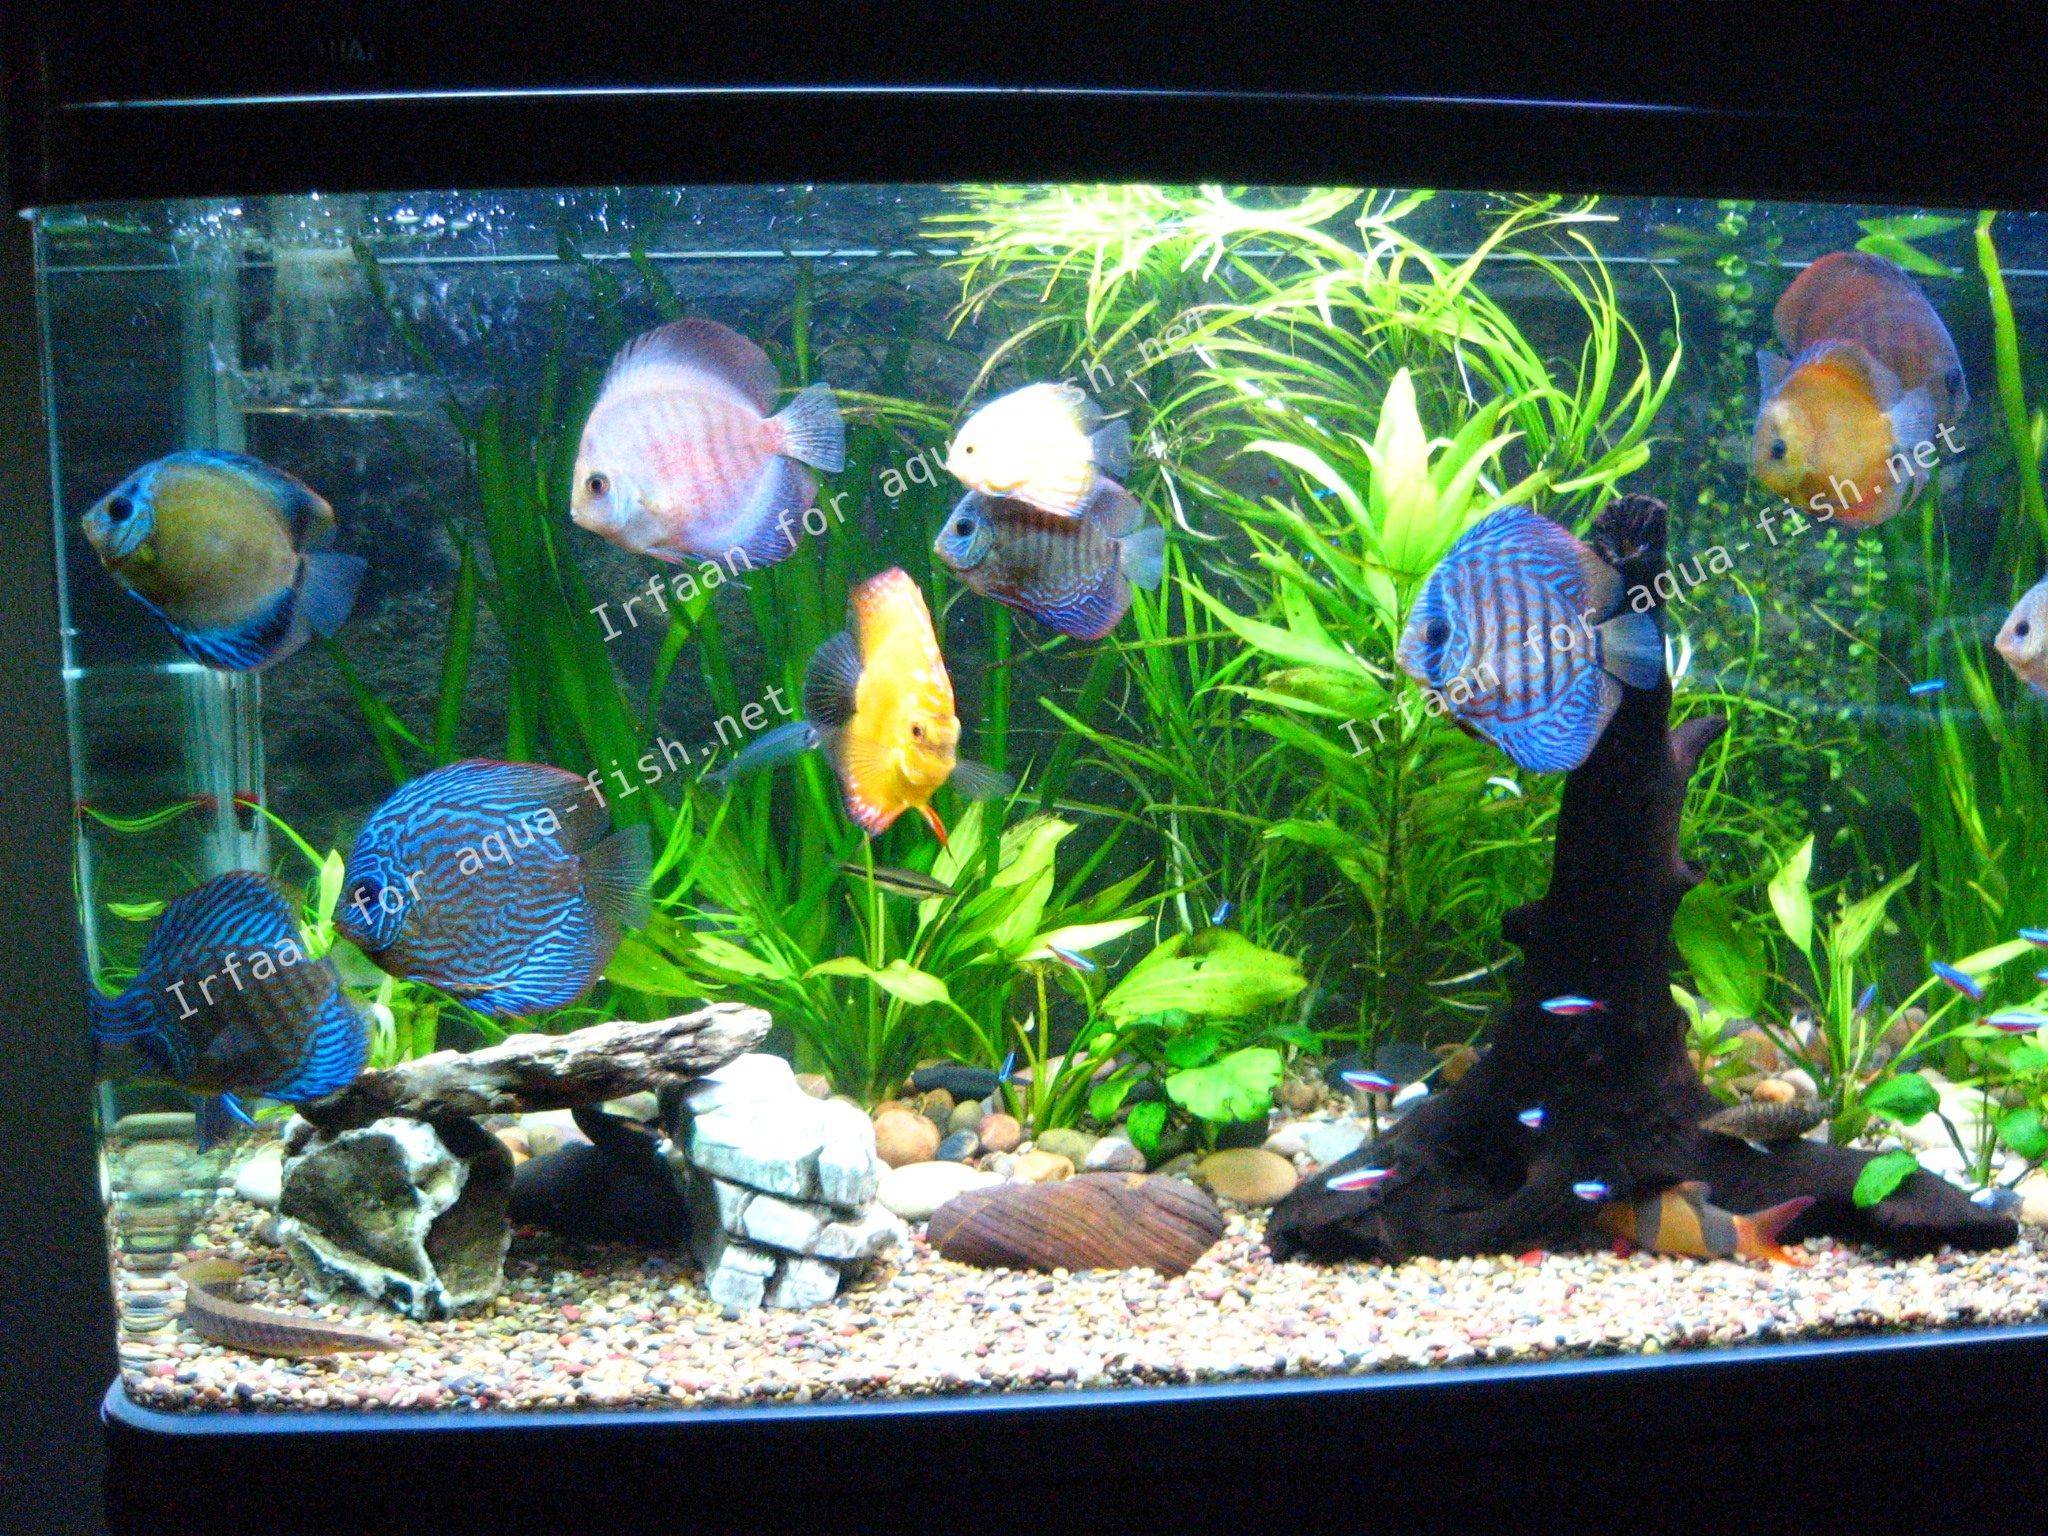
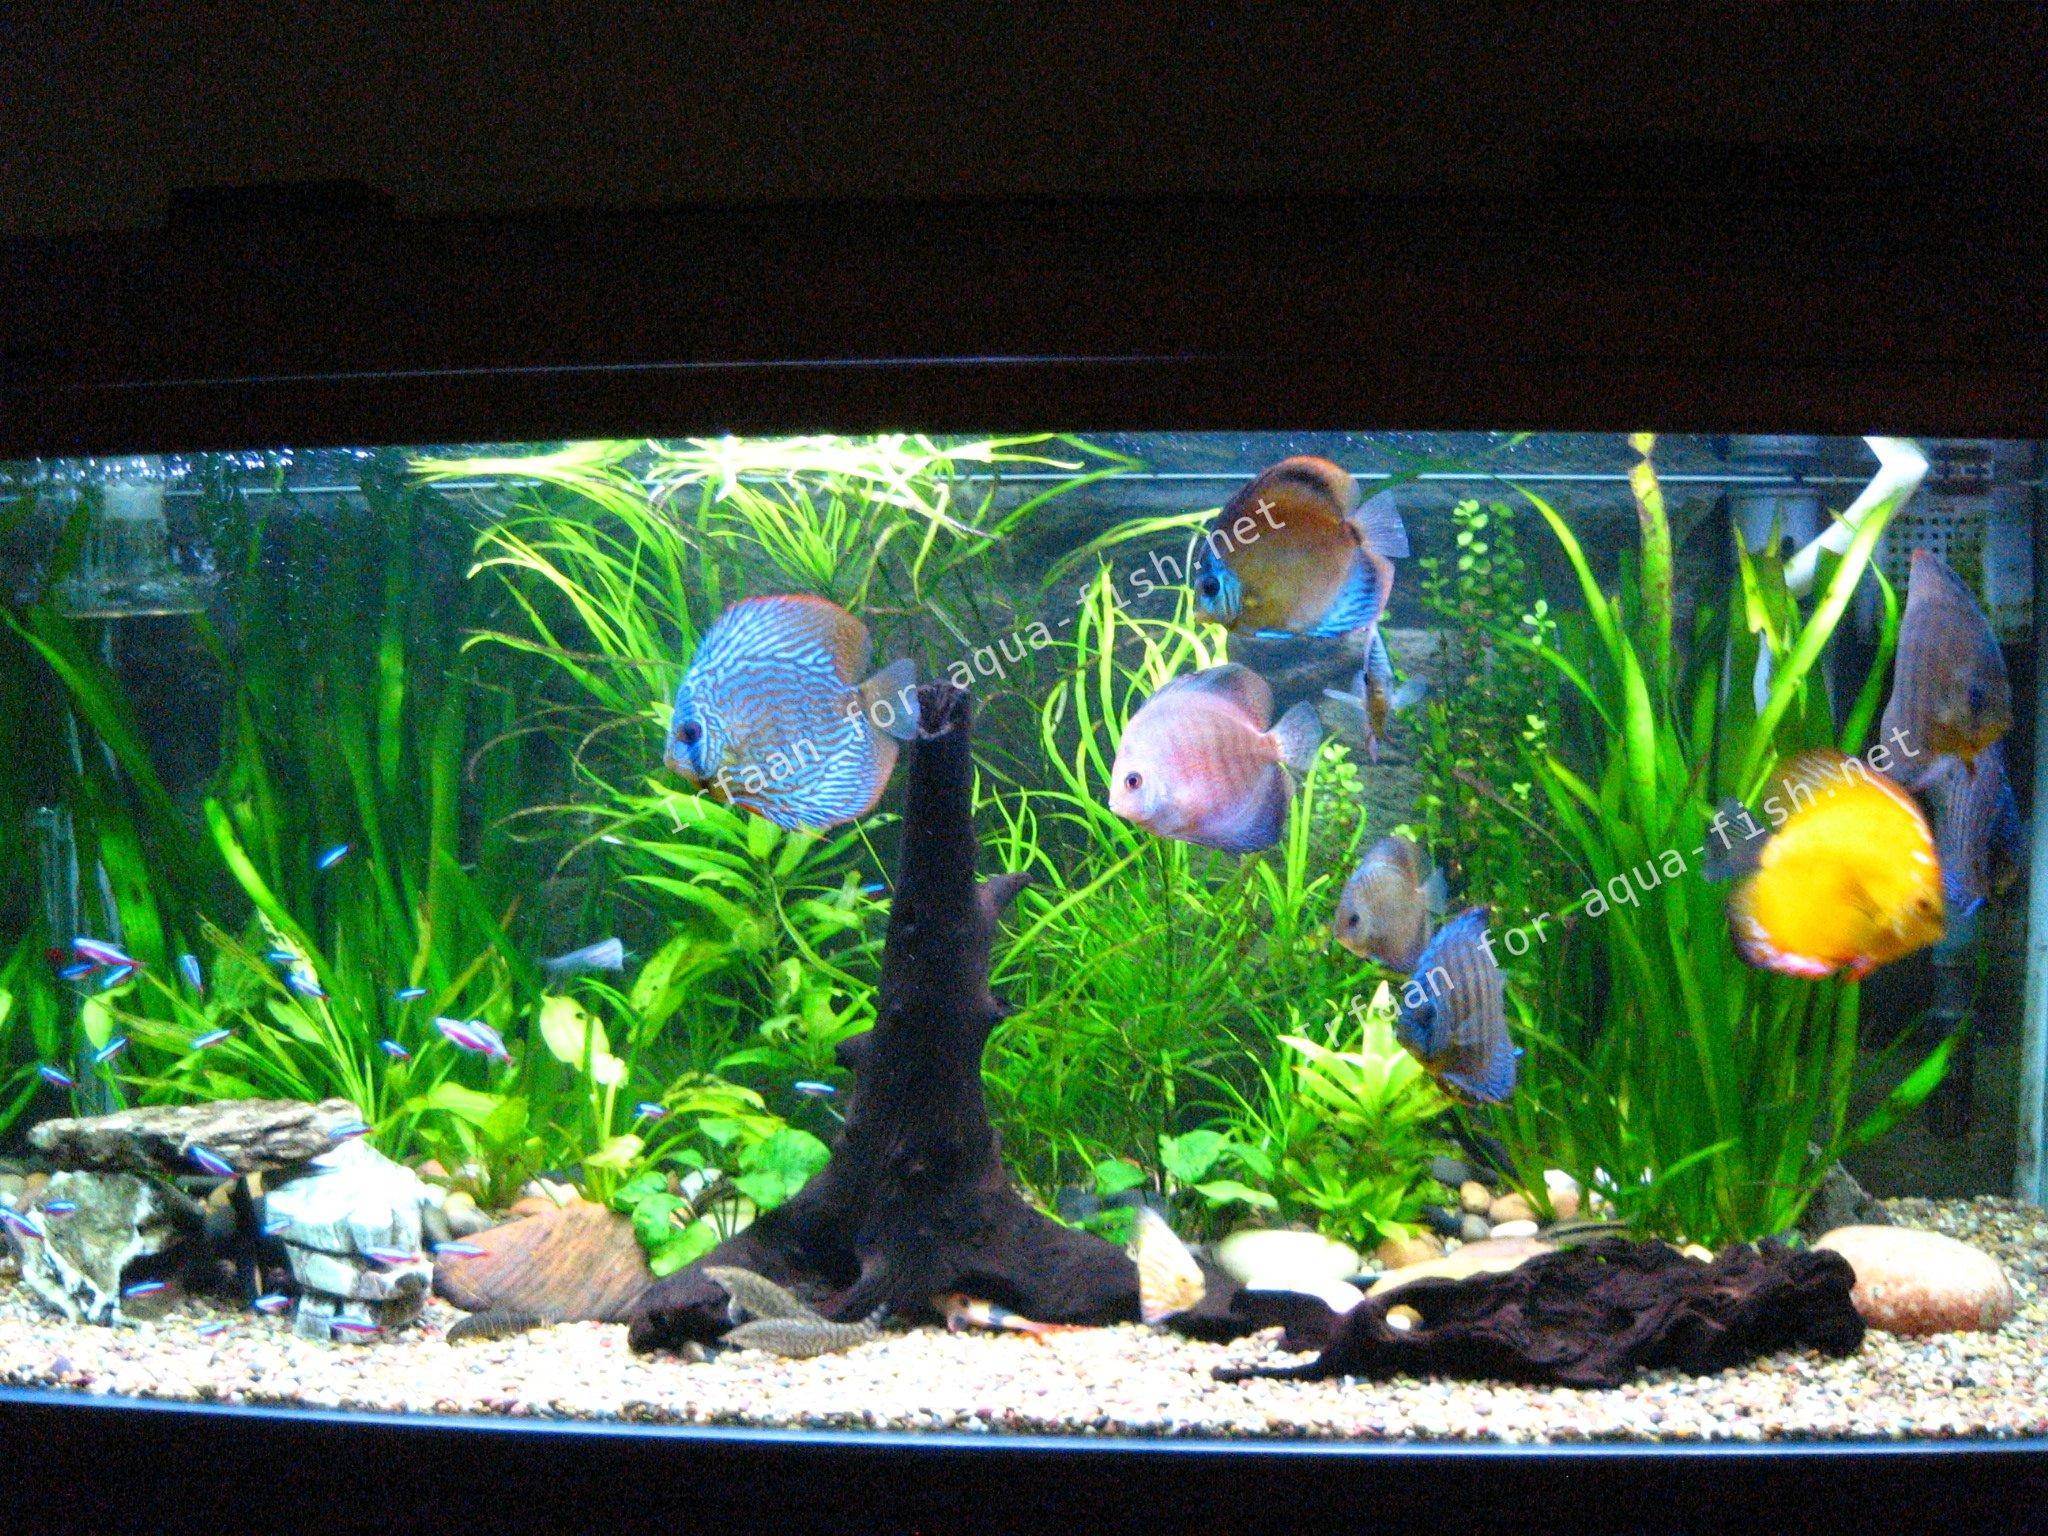
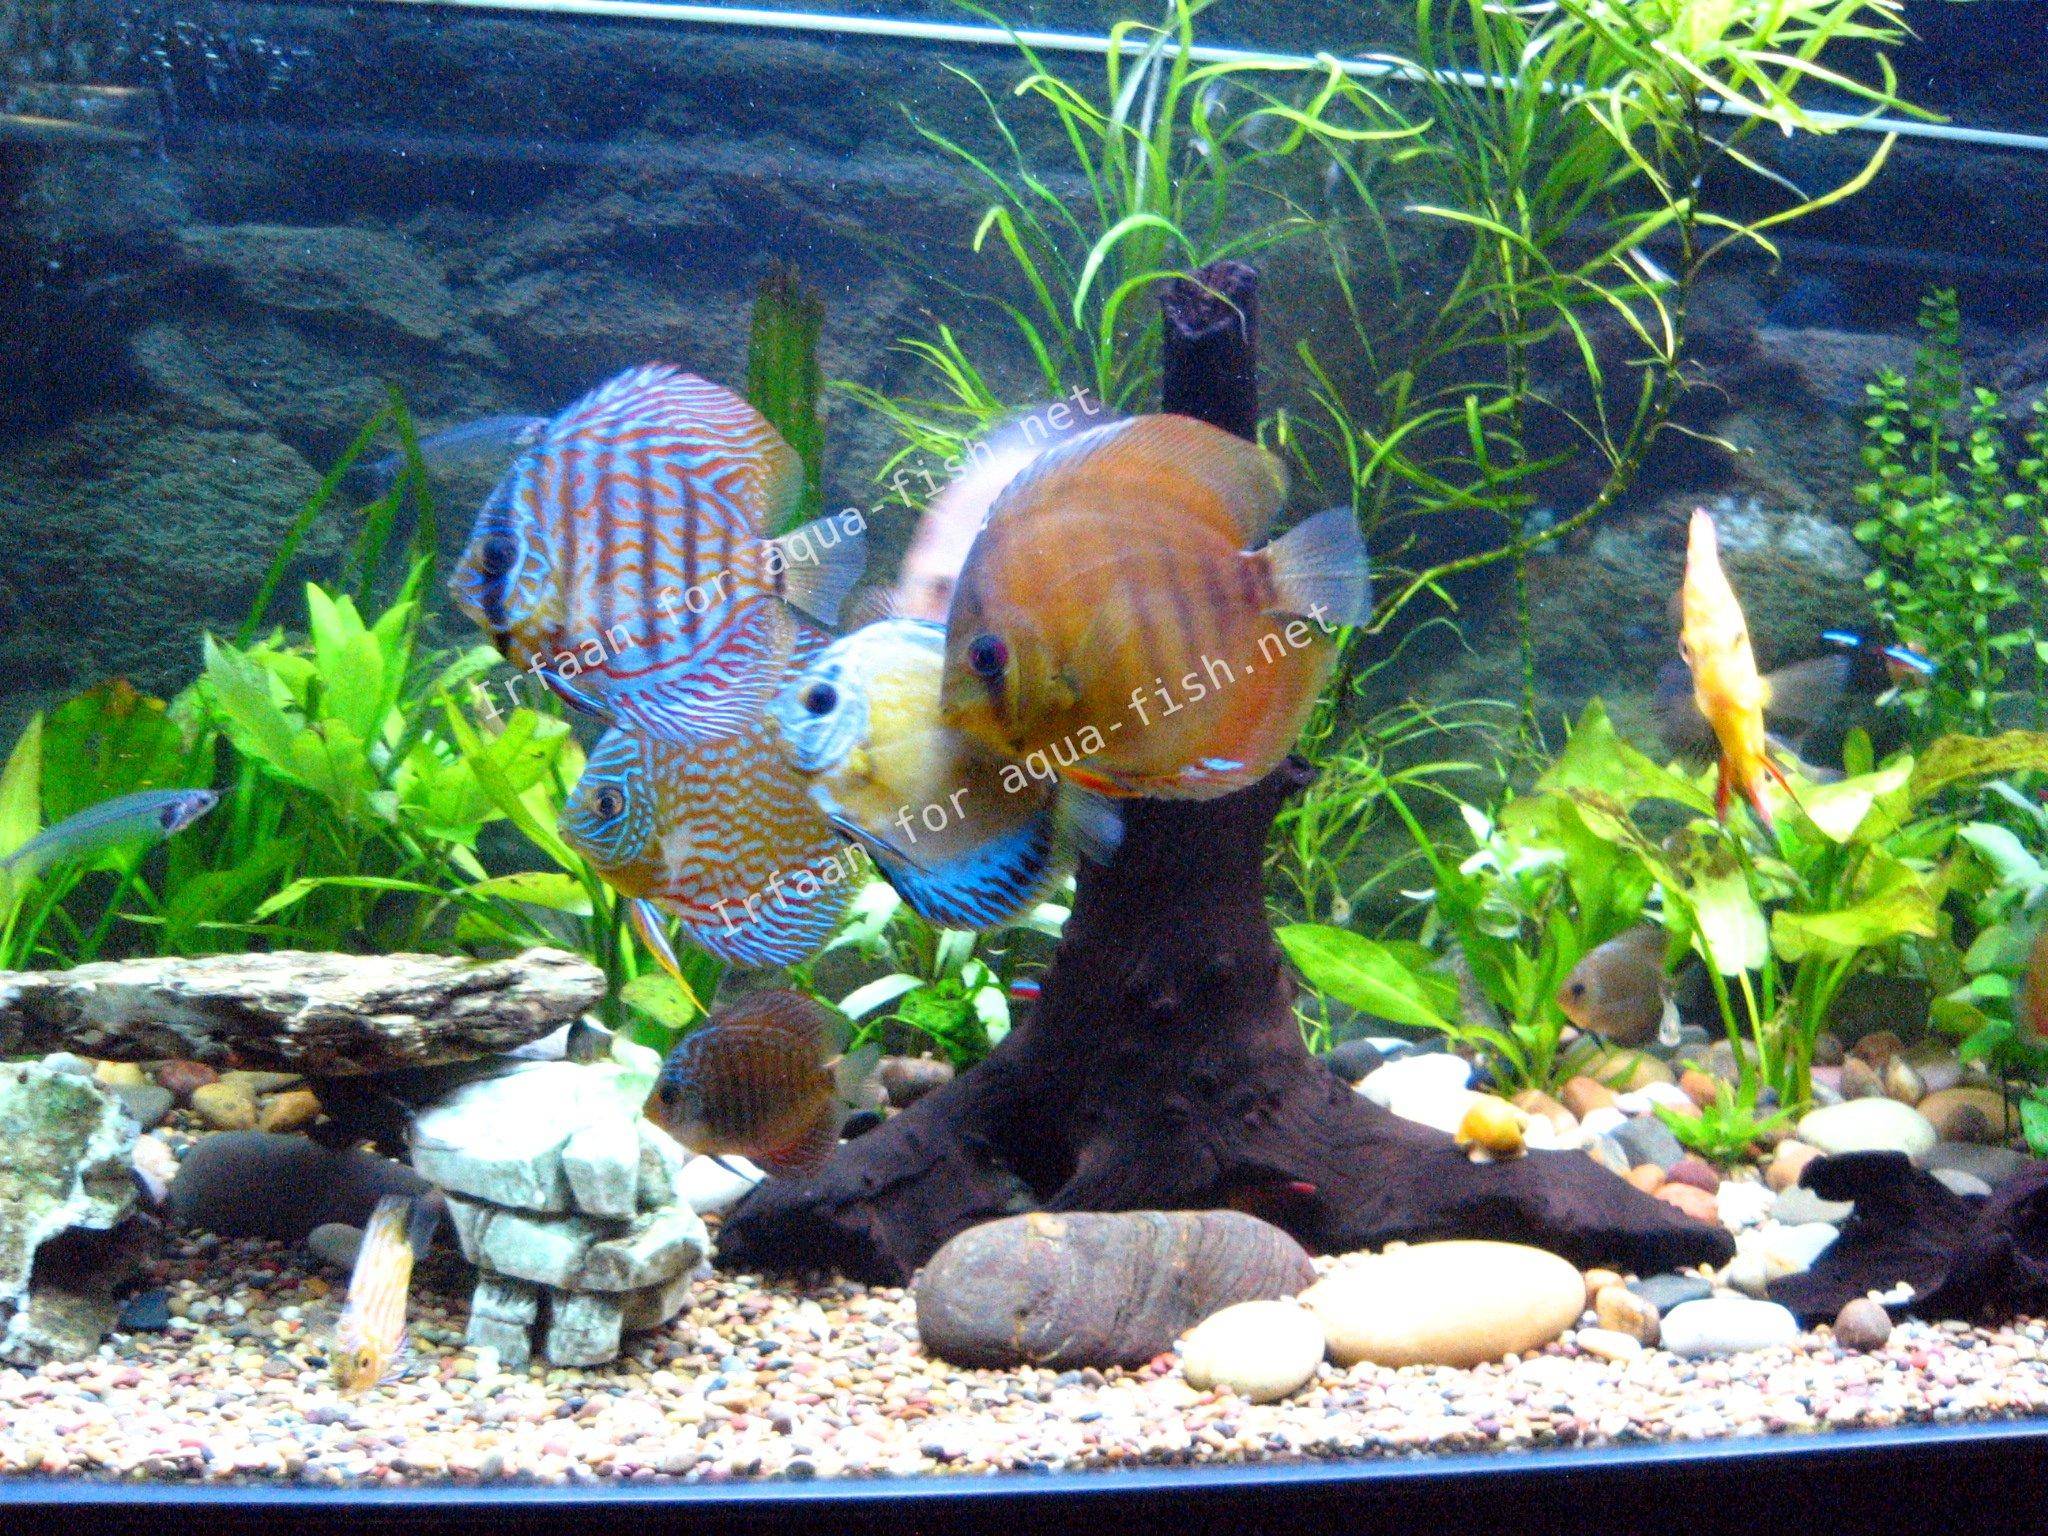
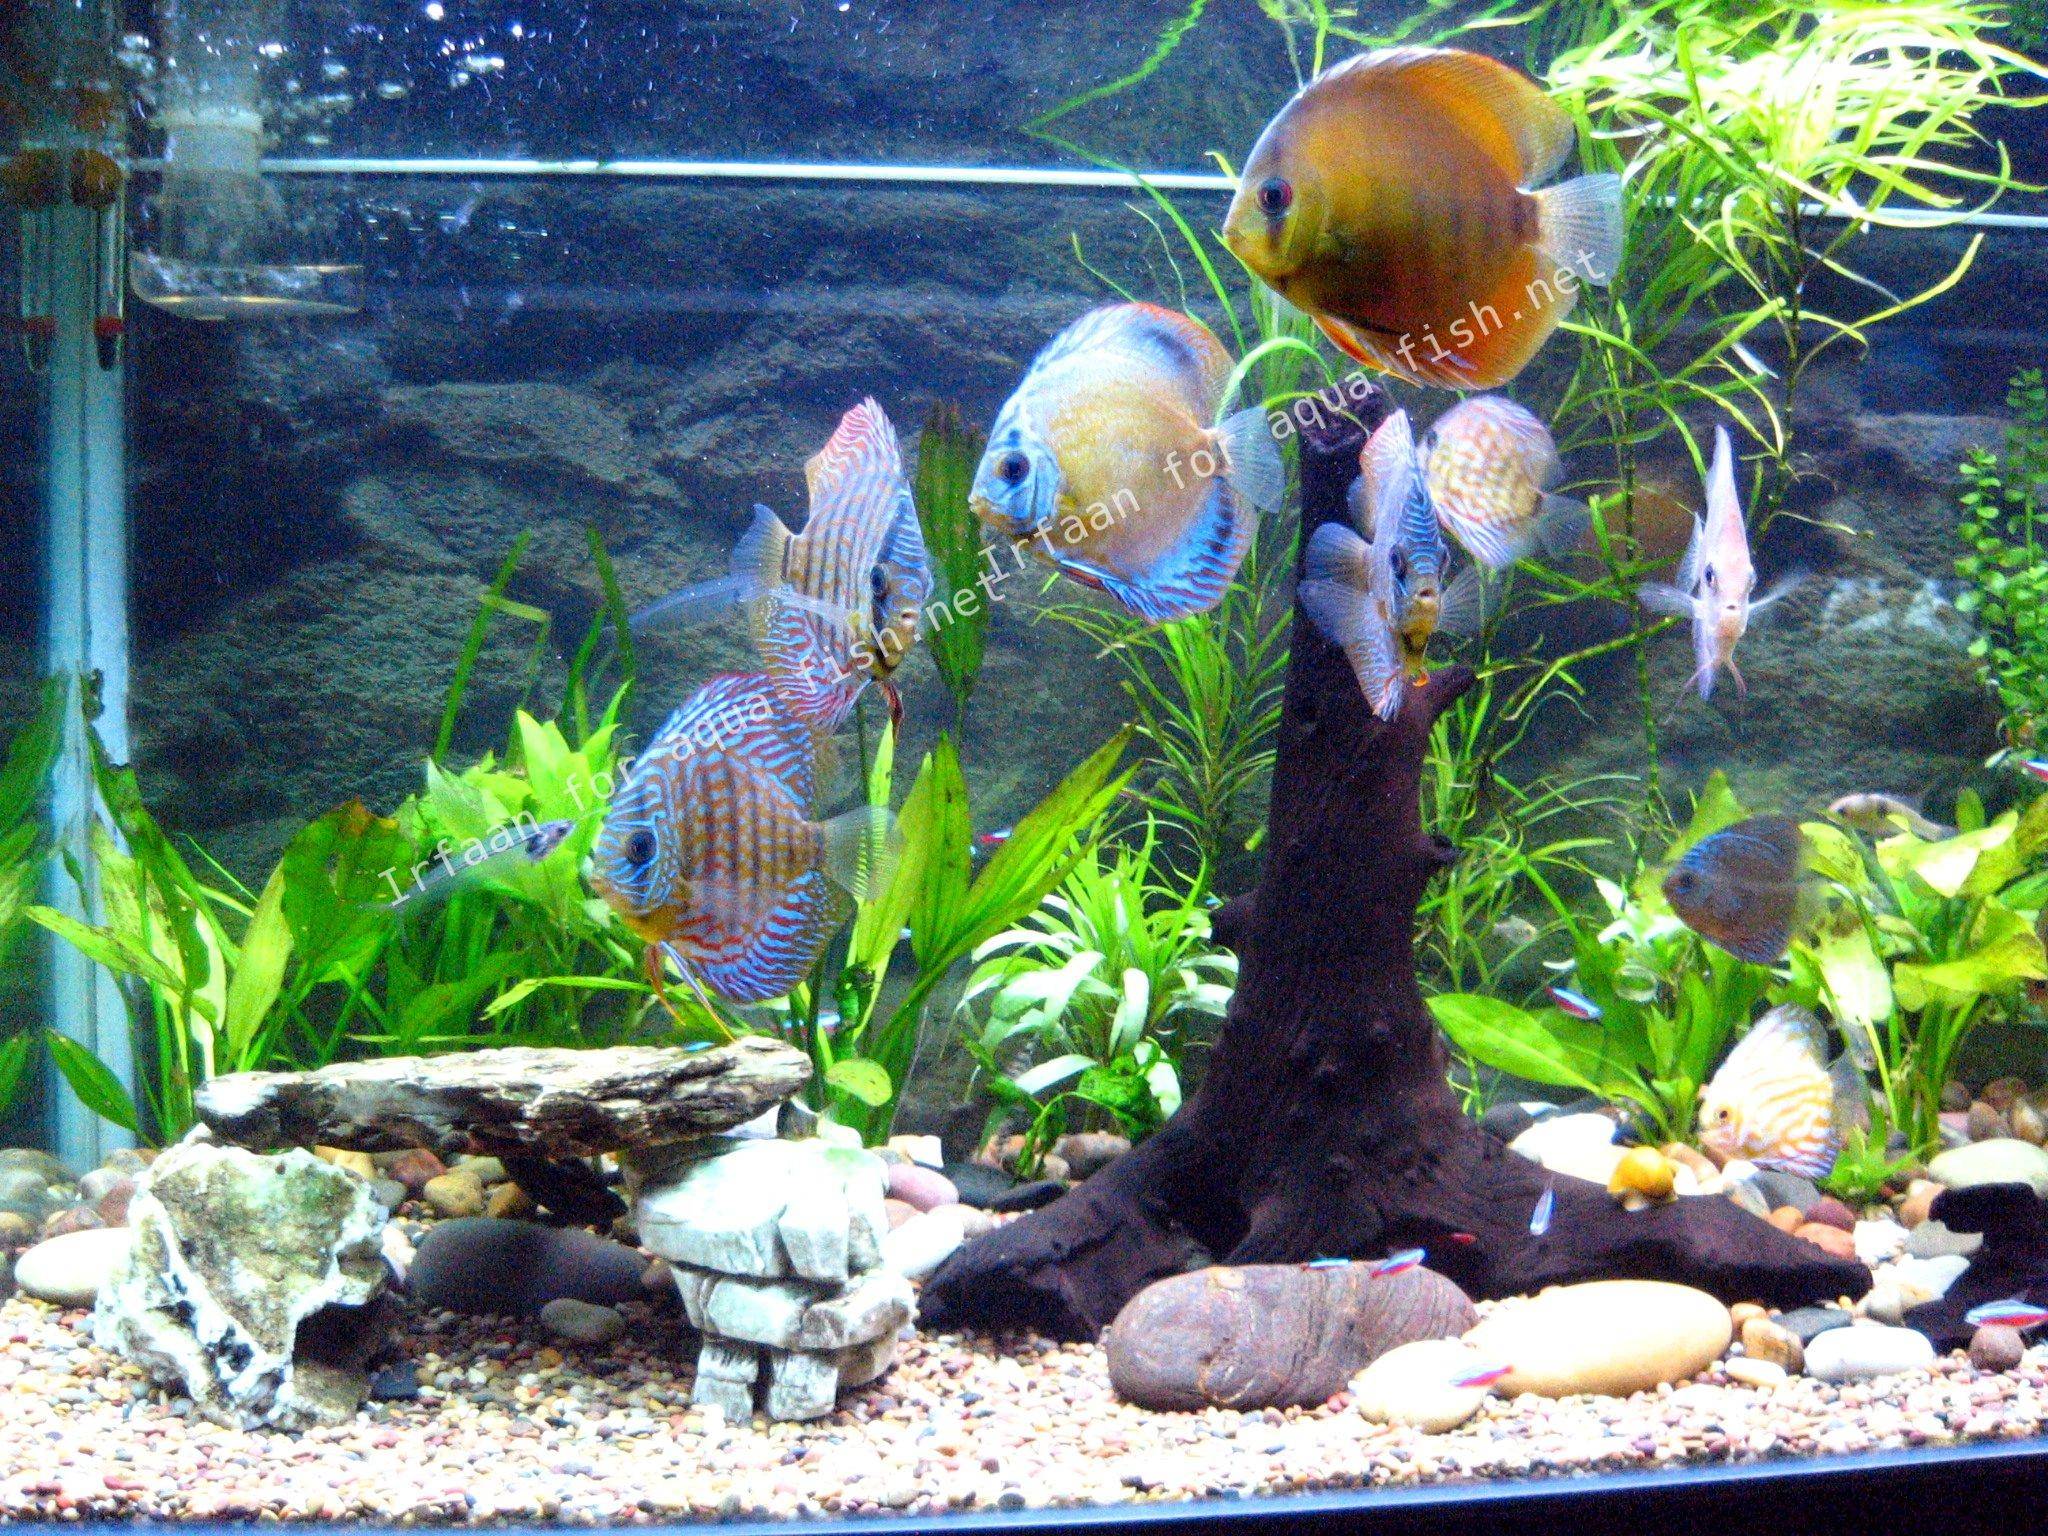
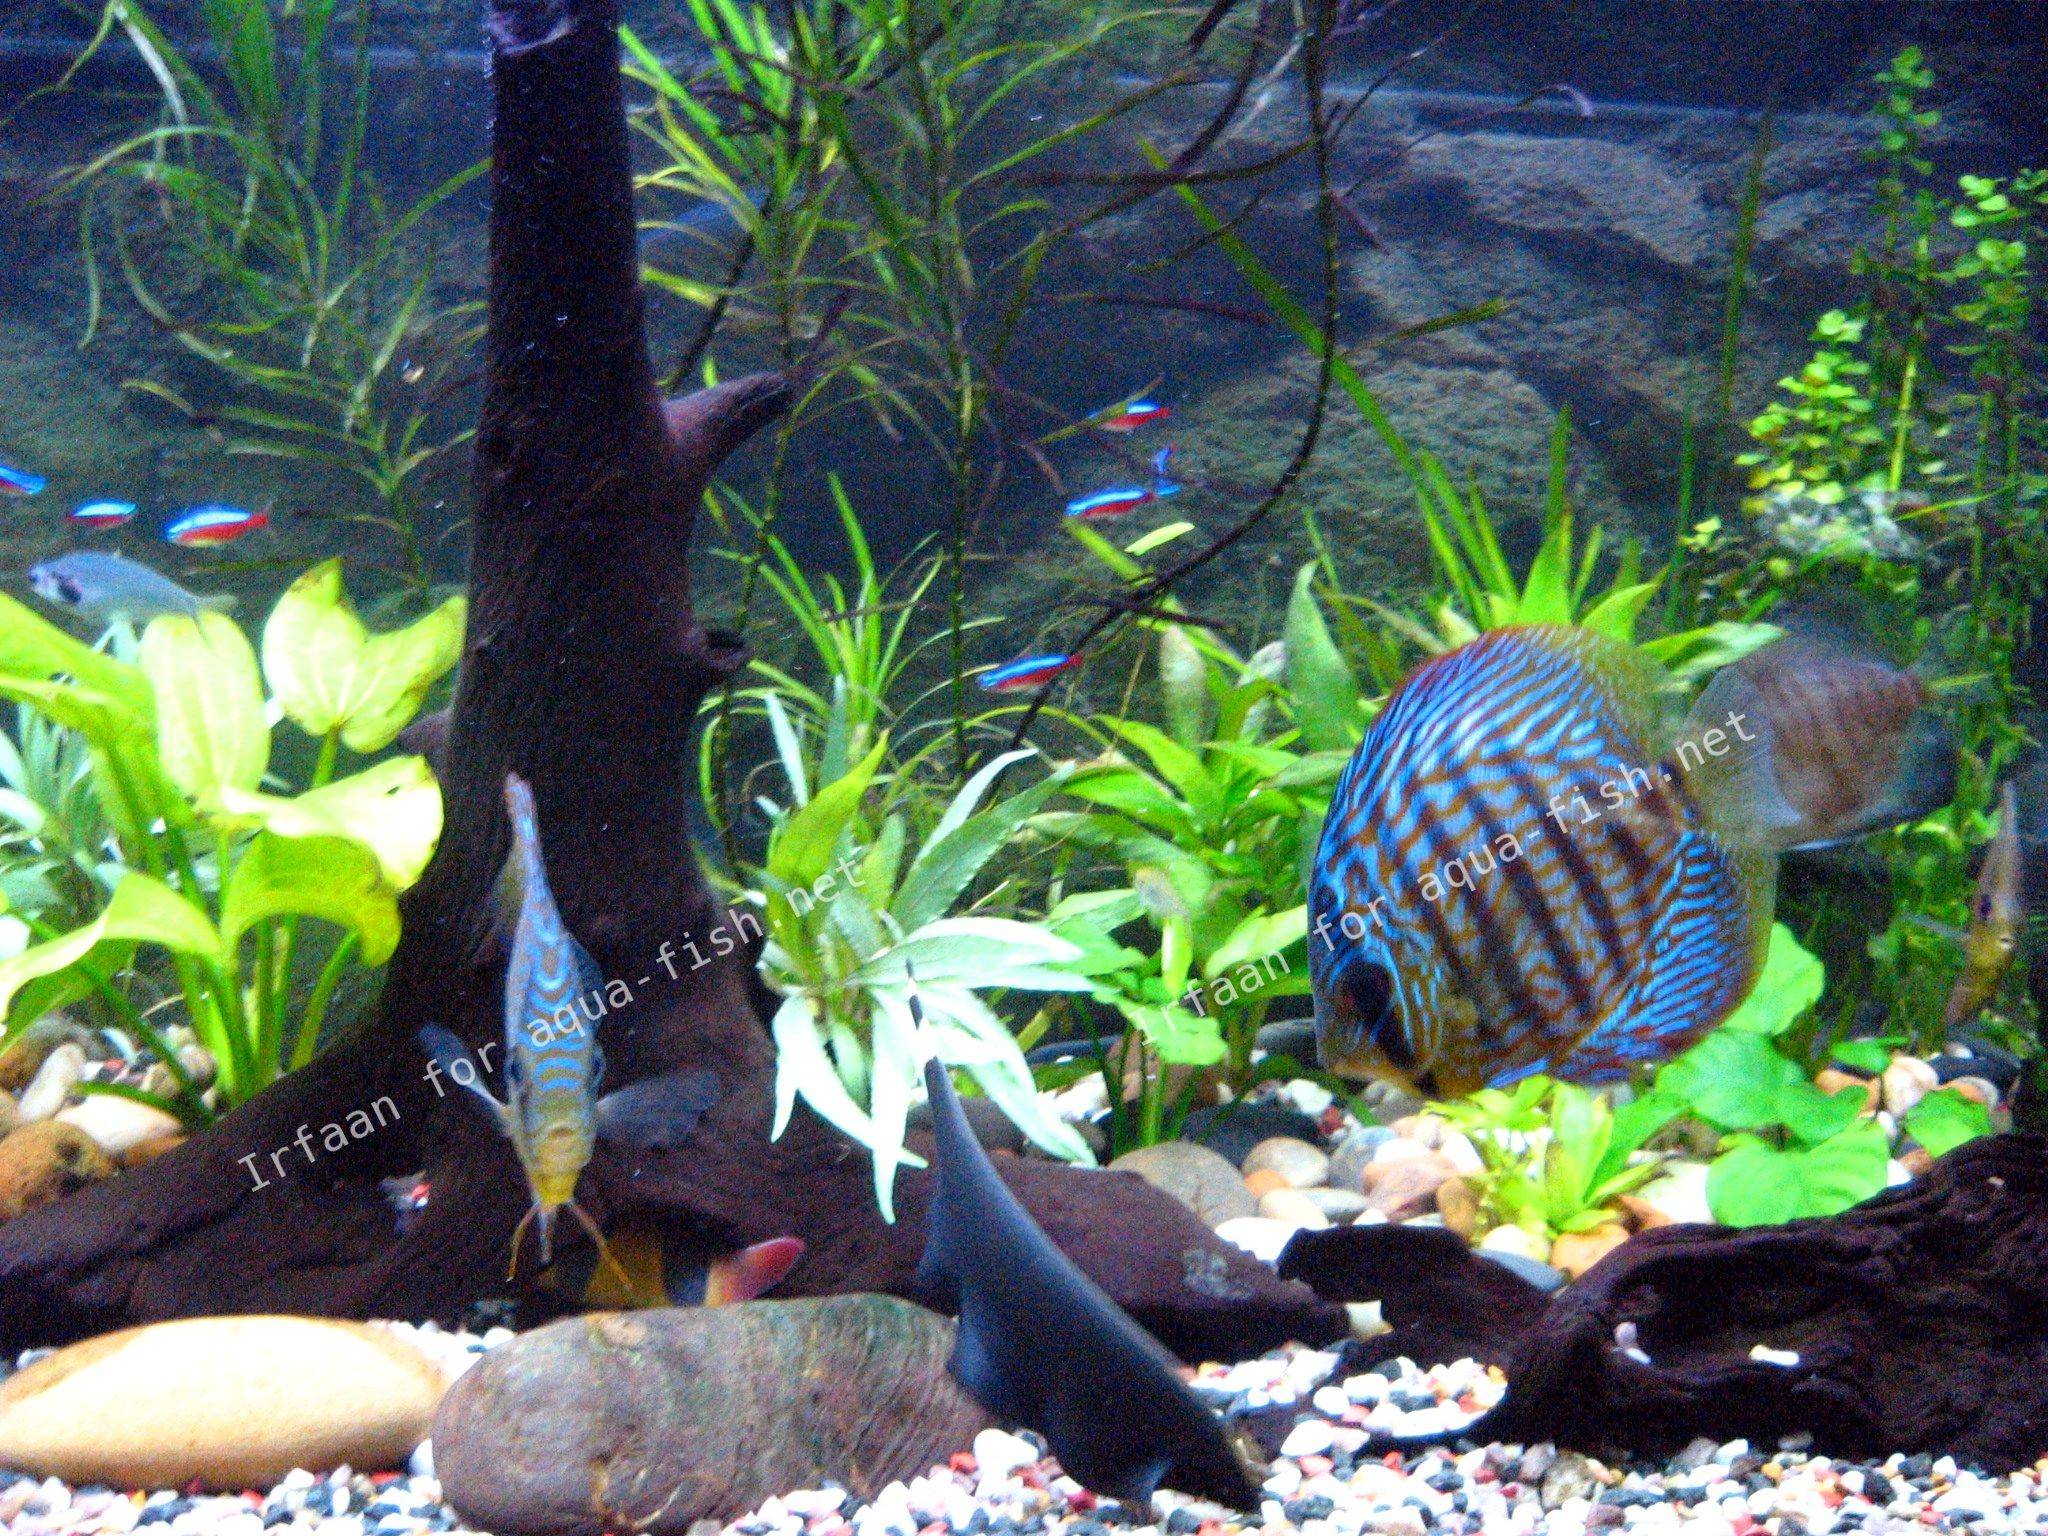
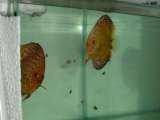
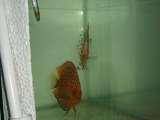
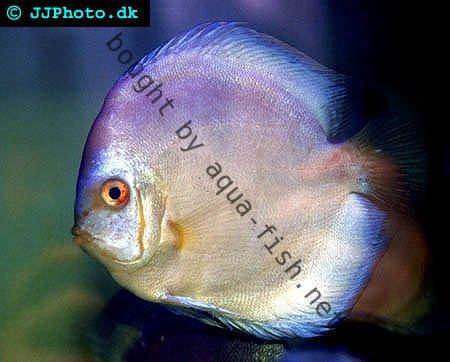
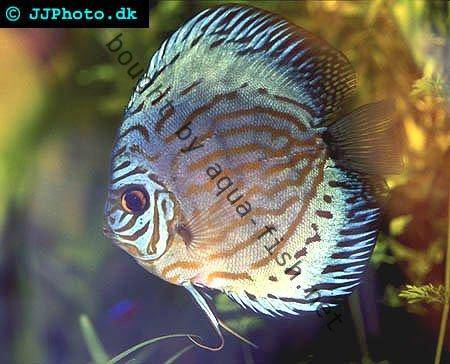
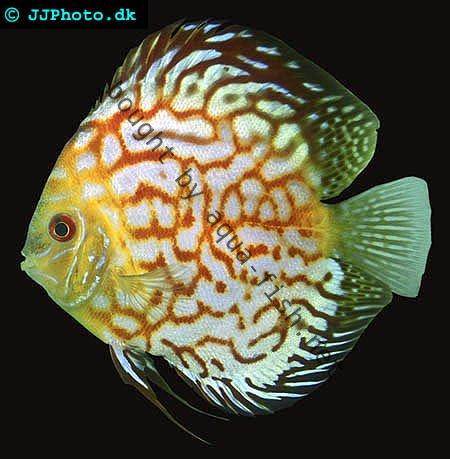
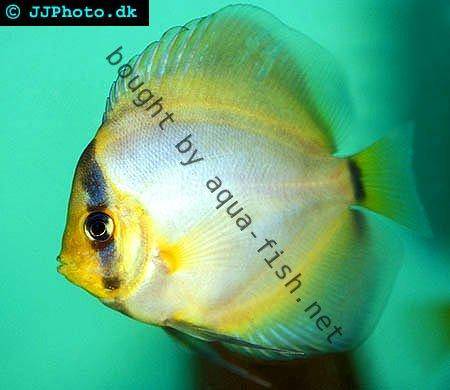
Some additional pictures of my display tank
My pigeon blood looking for food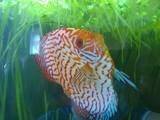
My scarlet pigeon having a hiding moment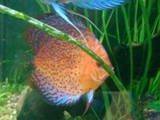
My blue leopard discus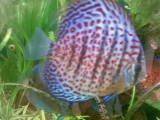
Hand feeding my discus Beef Heart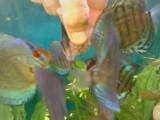
My display tank when the plants were growing out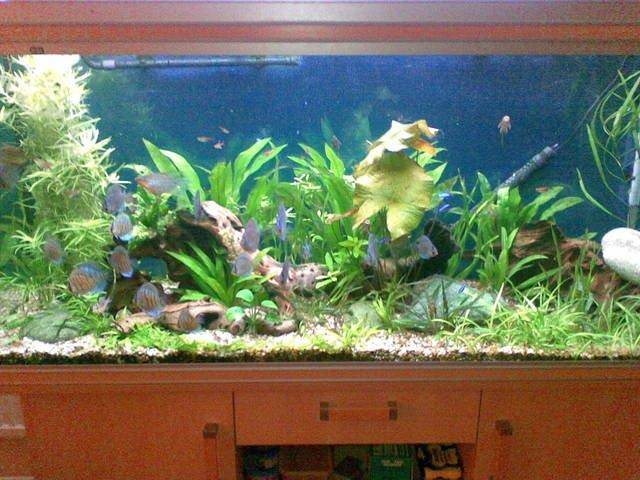
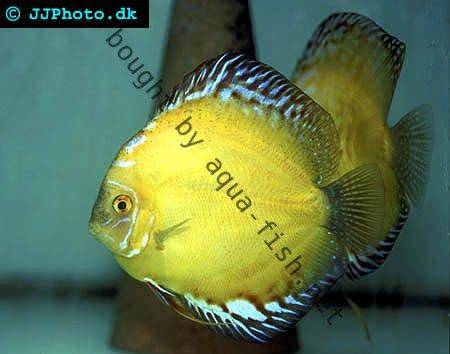
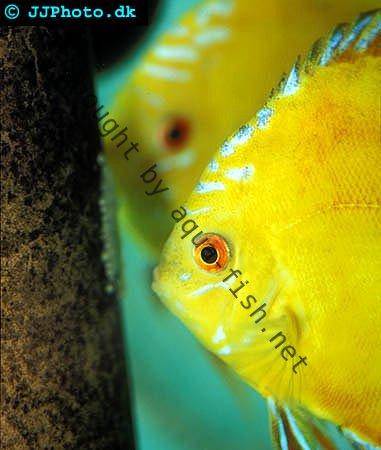
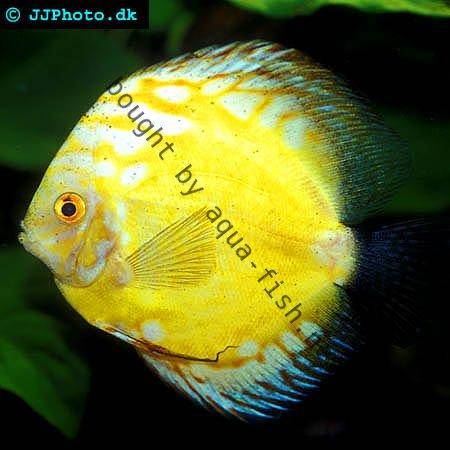
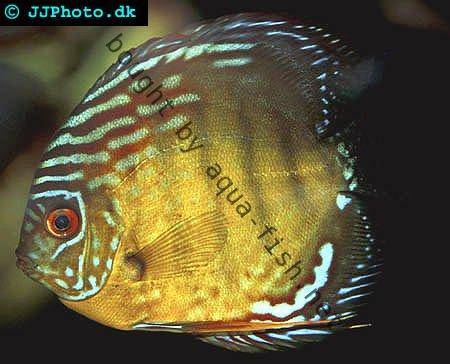
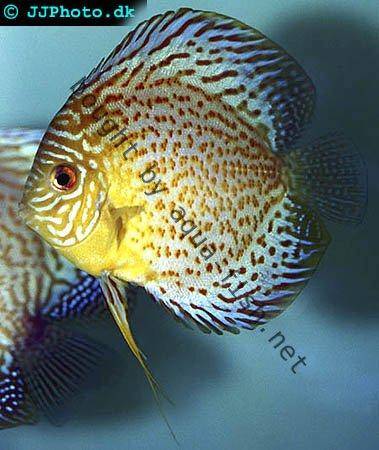
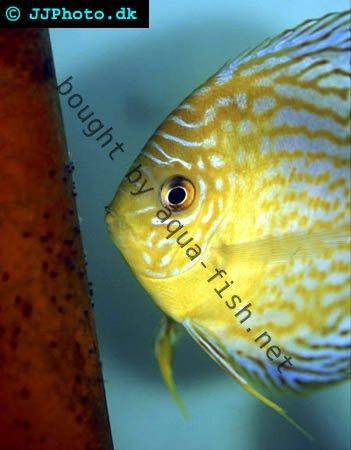
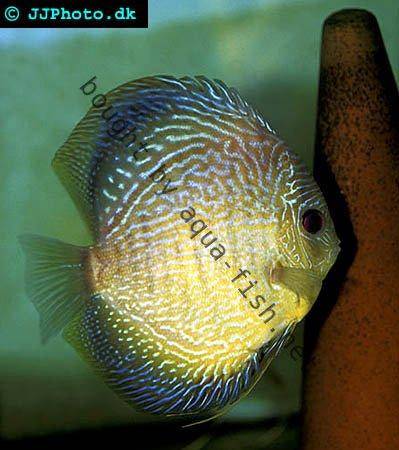
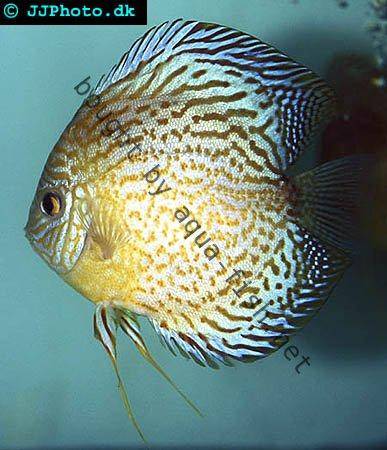
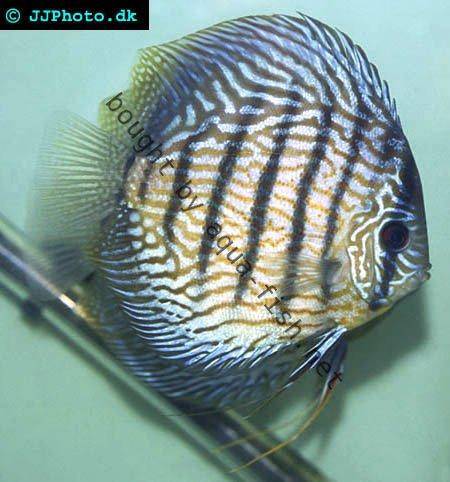
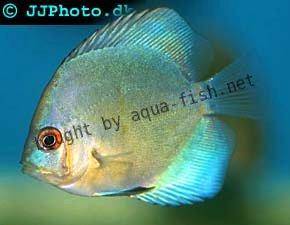
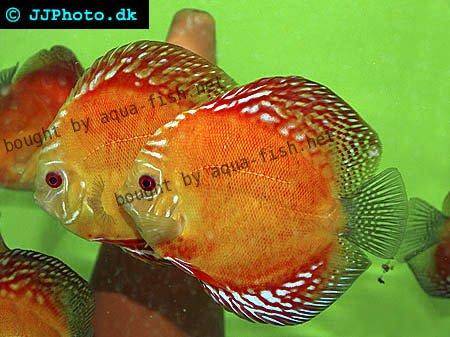
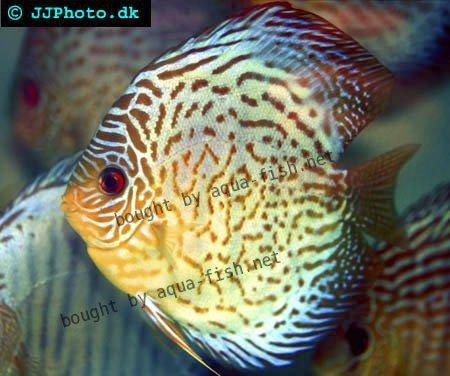
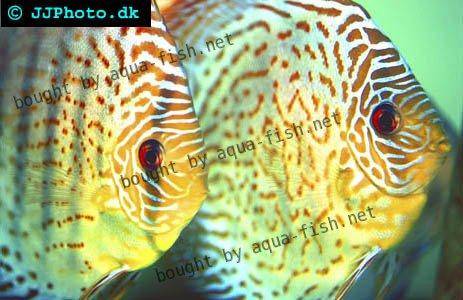
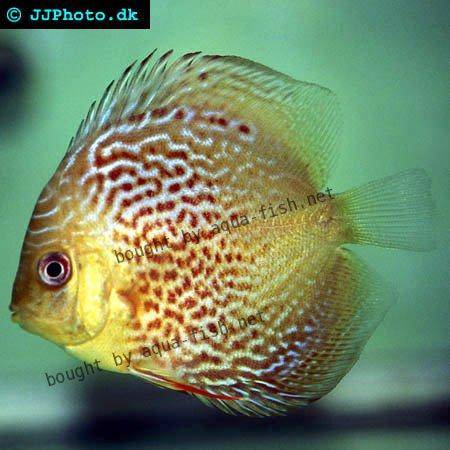
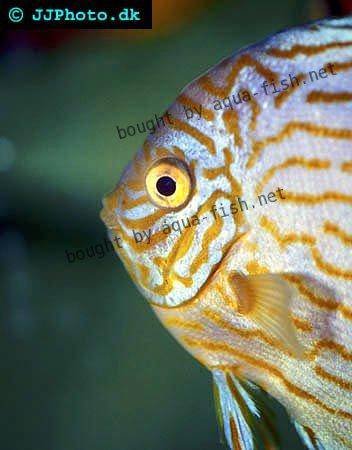
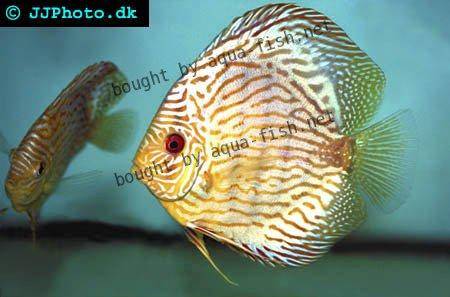
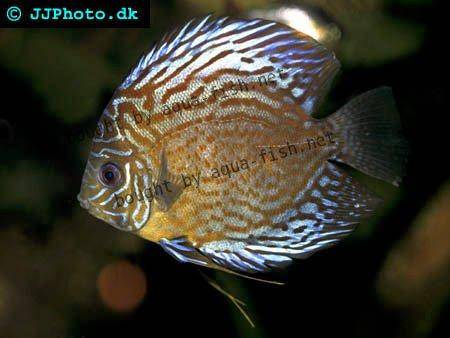
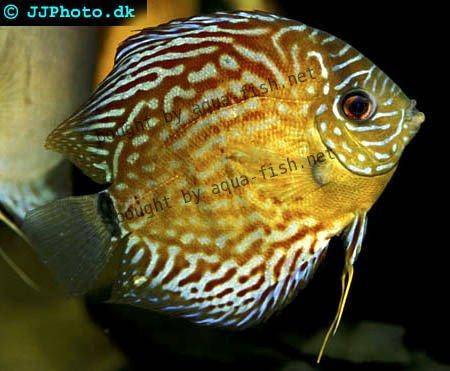
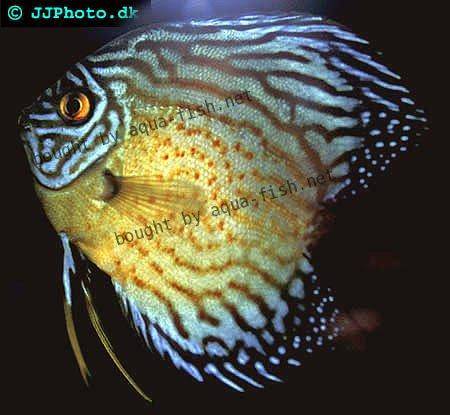
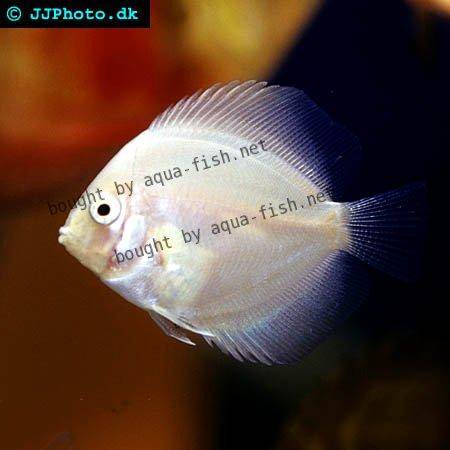
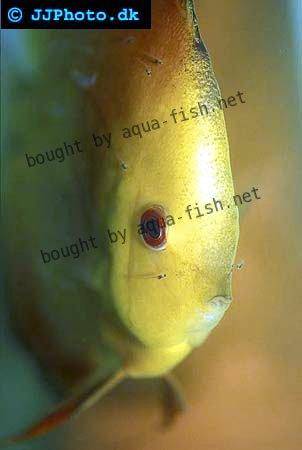
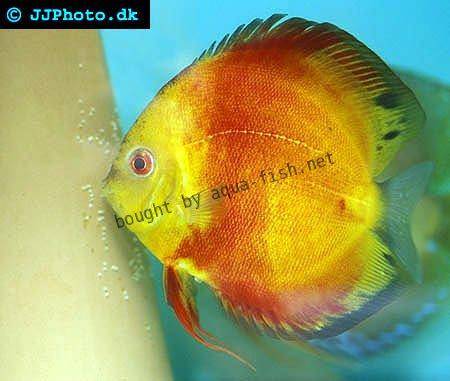
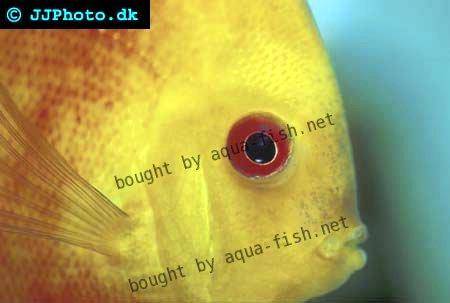
Species
Blue Alenquer
Blue Diamond
Blue Turquoise
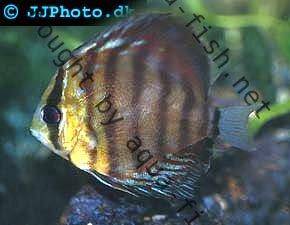
Brown
Coari Red Spotted Green
Cobalt Blue


Firestone Marlboro
Ghost
Golden Pigeon

Golden Sunrise
Green
Green Rio Tefe

Honey Dream
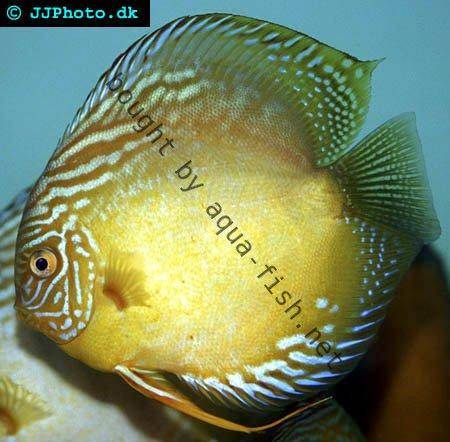
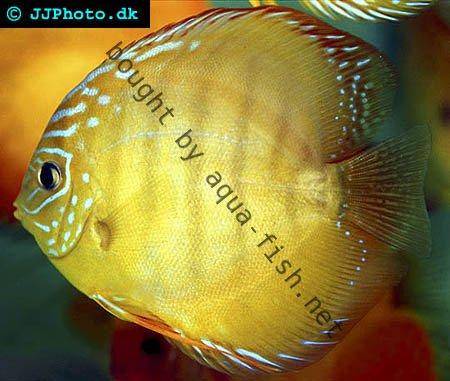
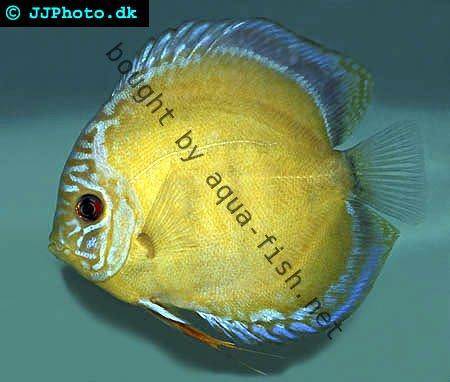

Jade Pigeon
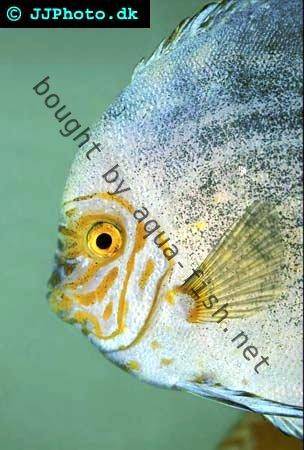
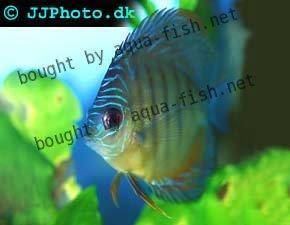
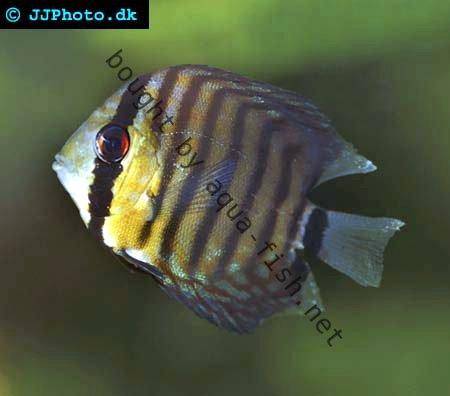
Juvenile specimen
Leopard
Leopard Pigeon
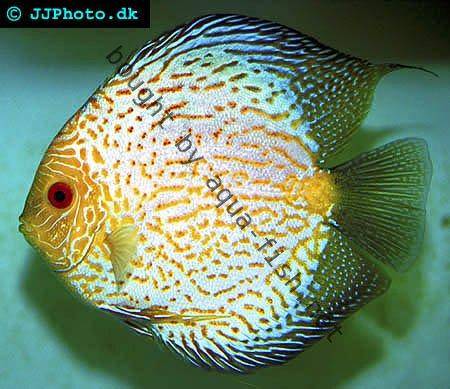
Leopard Snakeskin

Marlboro

Peru Red Spot
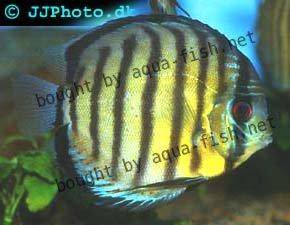
Powder Blue Snakeskin
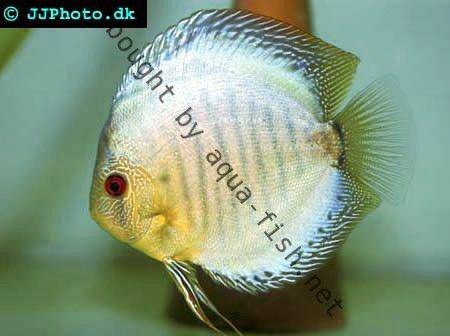

Red Diamond
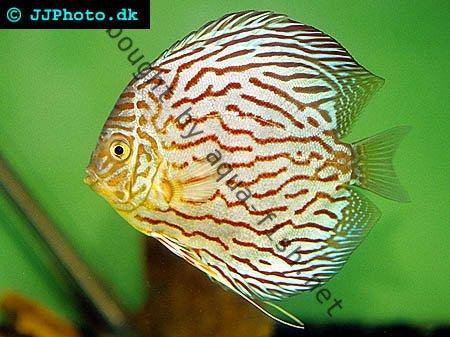
Red Eagle
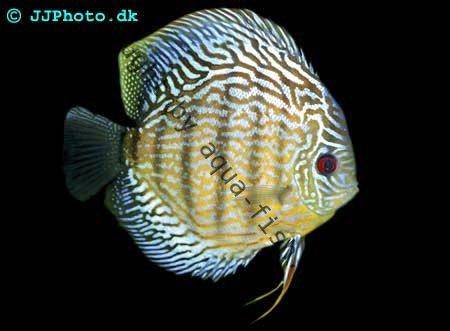
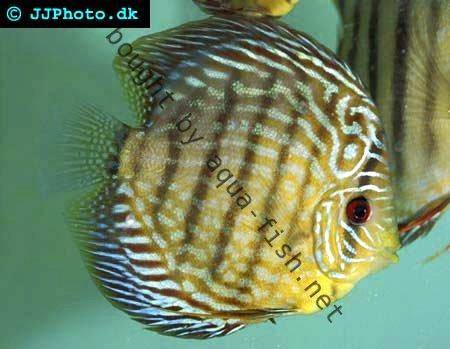
Red Eye Blue Diamond
Red Melon
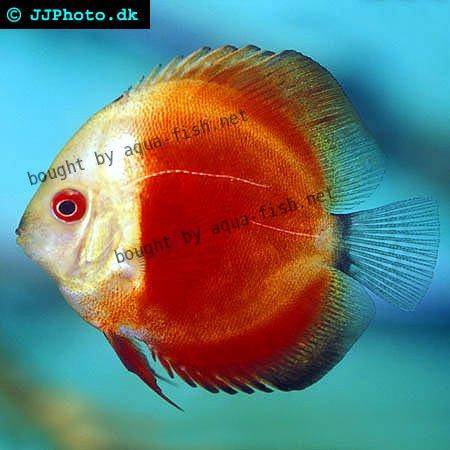
Red Pigeon
Red Rose
Red Snakeskin

Red Spotted Green

Red Spotted Leopard Snakeskin
Red Turquoise

Red Turquoise Leopard
Redspotted Royal Blue
Royal Pigeon

San Merah Solid Red
Snakeskin
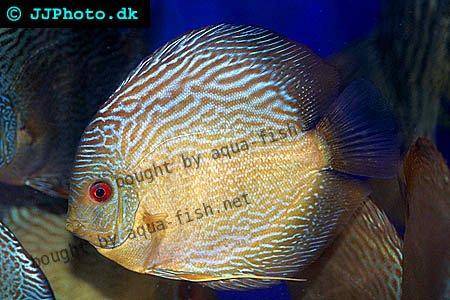
Turquoise Tomato
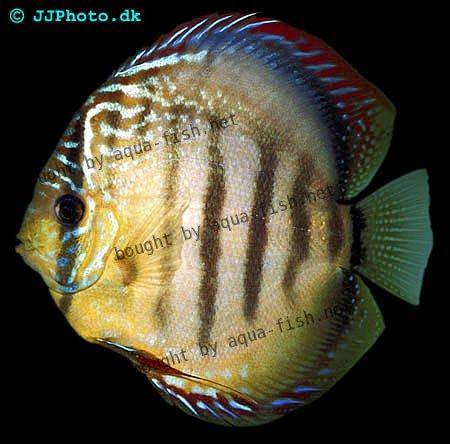
Velvet Sun
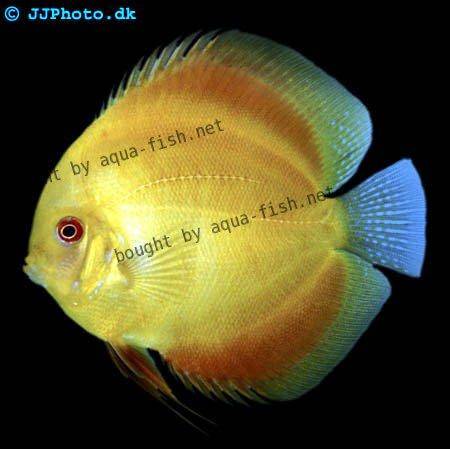
White Diamond
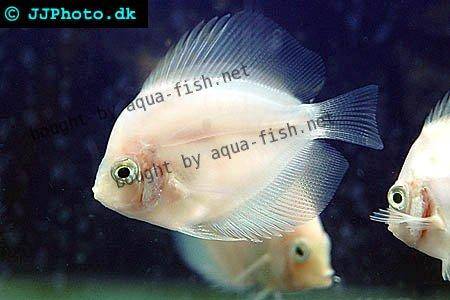
White Melon
Yellowface Marlboro
Copyright
Pictures and article by Mick Watson.