How to make a baby brine shrimp hatchery cheaply
By Tim Gautrey
If you came here looking to purchase brine shrimp, visit Artemia USA!
To make a hatchery this way is very easy. All you need is an empty 2 litre cola bottle, a polystyrene tile, a piece of air piping that you can connect to a pump via a control valve and a sharp knife. You might need a vacuum to clean up the polystyrene afterwards, but that’s DIY!)
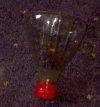
Cut the bottle just above the label, so that the bell and screw cap are left. See the image below.
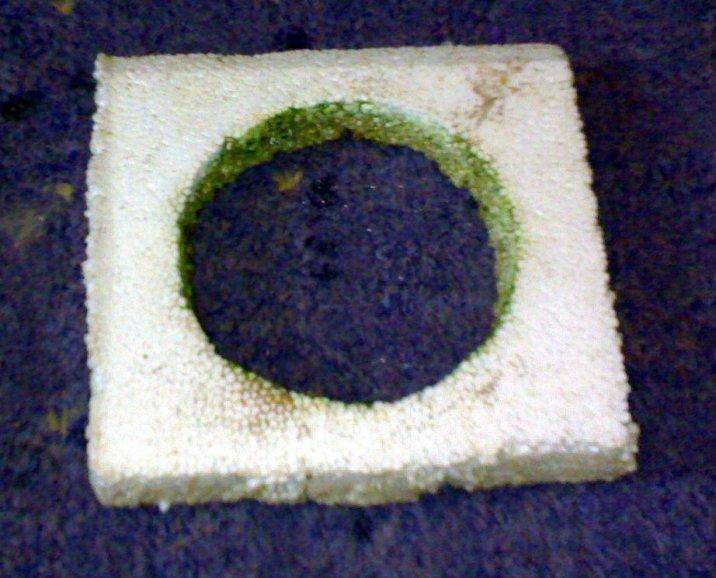
Take the polystyrene tile and cut a square just a little bigger than the bottle diameter. Place the cut neck of the bottle onto the centre of the square and press down so that it leaves an indentation in the tile. Using the knife cut out the round shape, leaving you something like the image below.
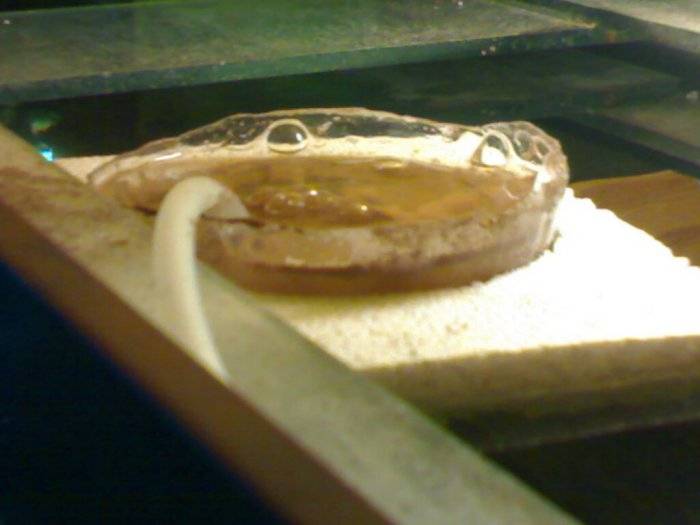
Float the tile in your tank,
Fill the bottle with water from the tank to half an inch from the top,
Drop it into the centre hole in the tile,
Add the air pipe making sure that it goes right to the bottom of the cone and connect to the pump, adjusting so that you get a gentle bubble in the bottle,
Add the salt to the water; roughly a heaped tablespoon is right.
Add 1/4 of a teaspoon of BBS eggs
Leave for 18 - 24 hours
You now have freshly hatched BBS to feed to your fish!
A useful hint: Use a syringe to take the BBS out of the cone; it saves a lot of bother! Take the airline out and leave to settle for about five minutes, then I use one full syringe per feed for about 50 fry. This saves the need for a fine mesh net etc and the rest continue to survive in the cone until needed again. The amount of salt you are adding to the fry tank is so small that it will not do any harm.
The advantages with this are that you don’t need a heater or a light, as both are already fitted. The water temperature of your tank should be enough to maintain the BBS hatchery with a maximum of 24 hours turnaround. The disadvantage is that you have a bottle floating in the top of your tank, which you may not like, but if you have fry, they have to be fed!
P.S. If you need more than one hatchery, just cut the tile large enough to take two or four cut-outs and put more bottles in with extra airlines!
Have fun!